Mindset v3 / Build & Optimize / Agent Management Studio
View as MarkdownAgent Management Studio (AMS): Quick Start Walkthrough
Walkthrough of the Agent Management Studio
What is AMS?
The Agent Management Studio (AMS) is a visual, no-code admin portal for building, testing, and monitoring AI agents. You can use AMS to control workflow access, manage MCP servers, upload data and guardrails, shape personality and behavior, and deploy agents quickly without writing code.
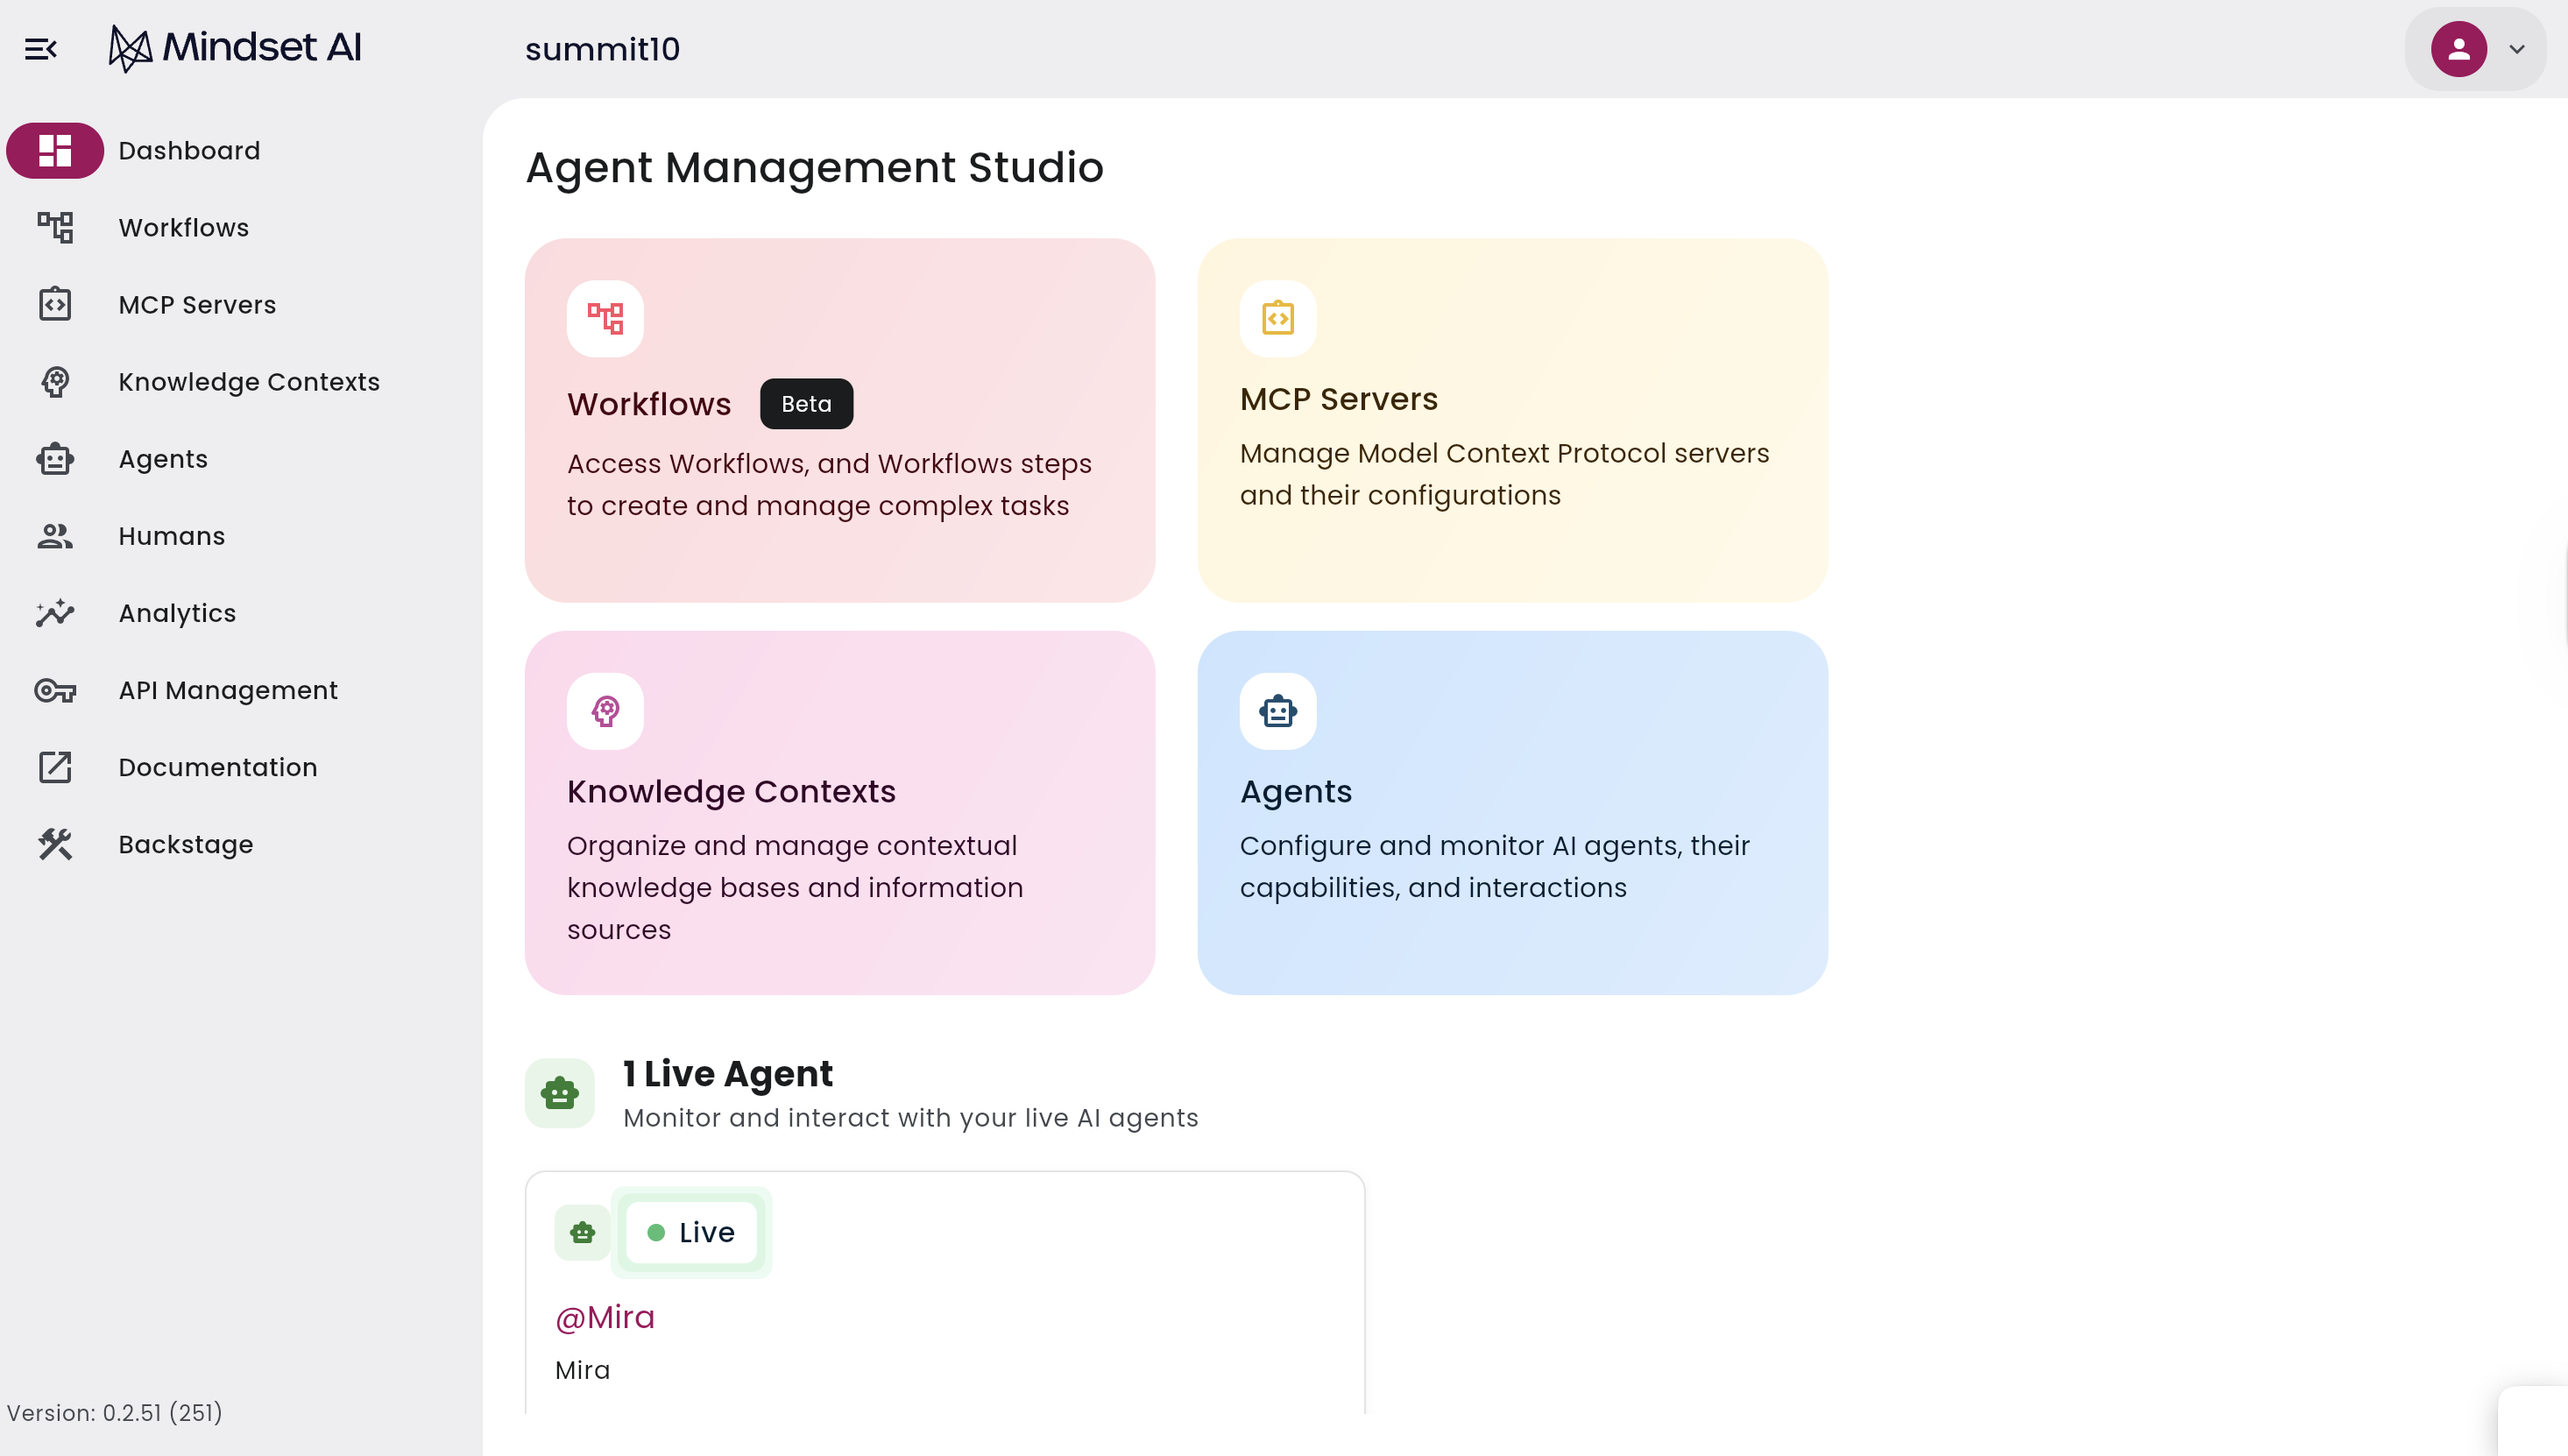
AMS Key Components at a Glance
Agents
Autonomous units tailored to a role or objective. Agents use assigned Workflows, MCP Servers, and Knowledge Contexts to act like subject matter experts.
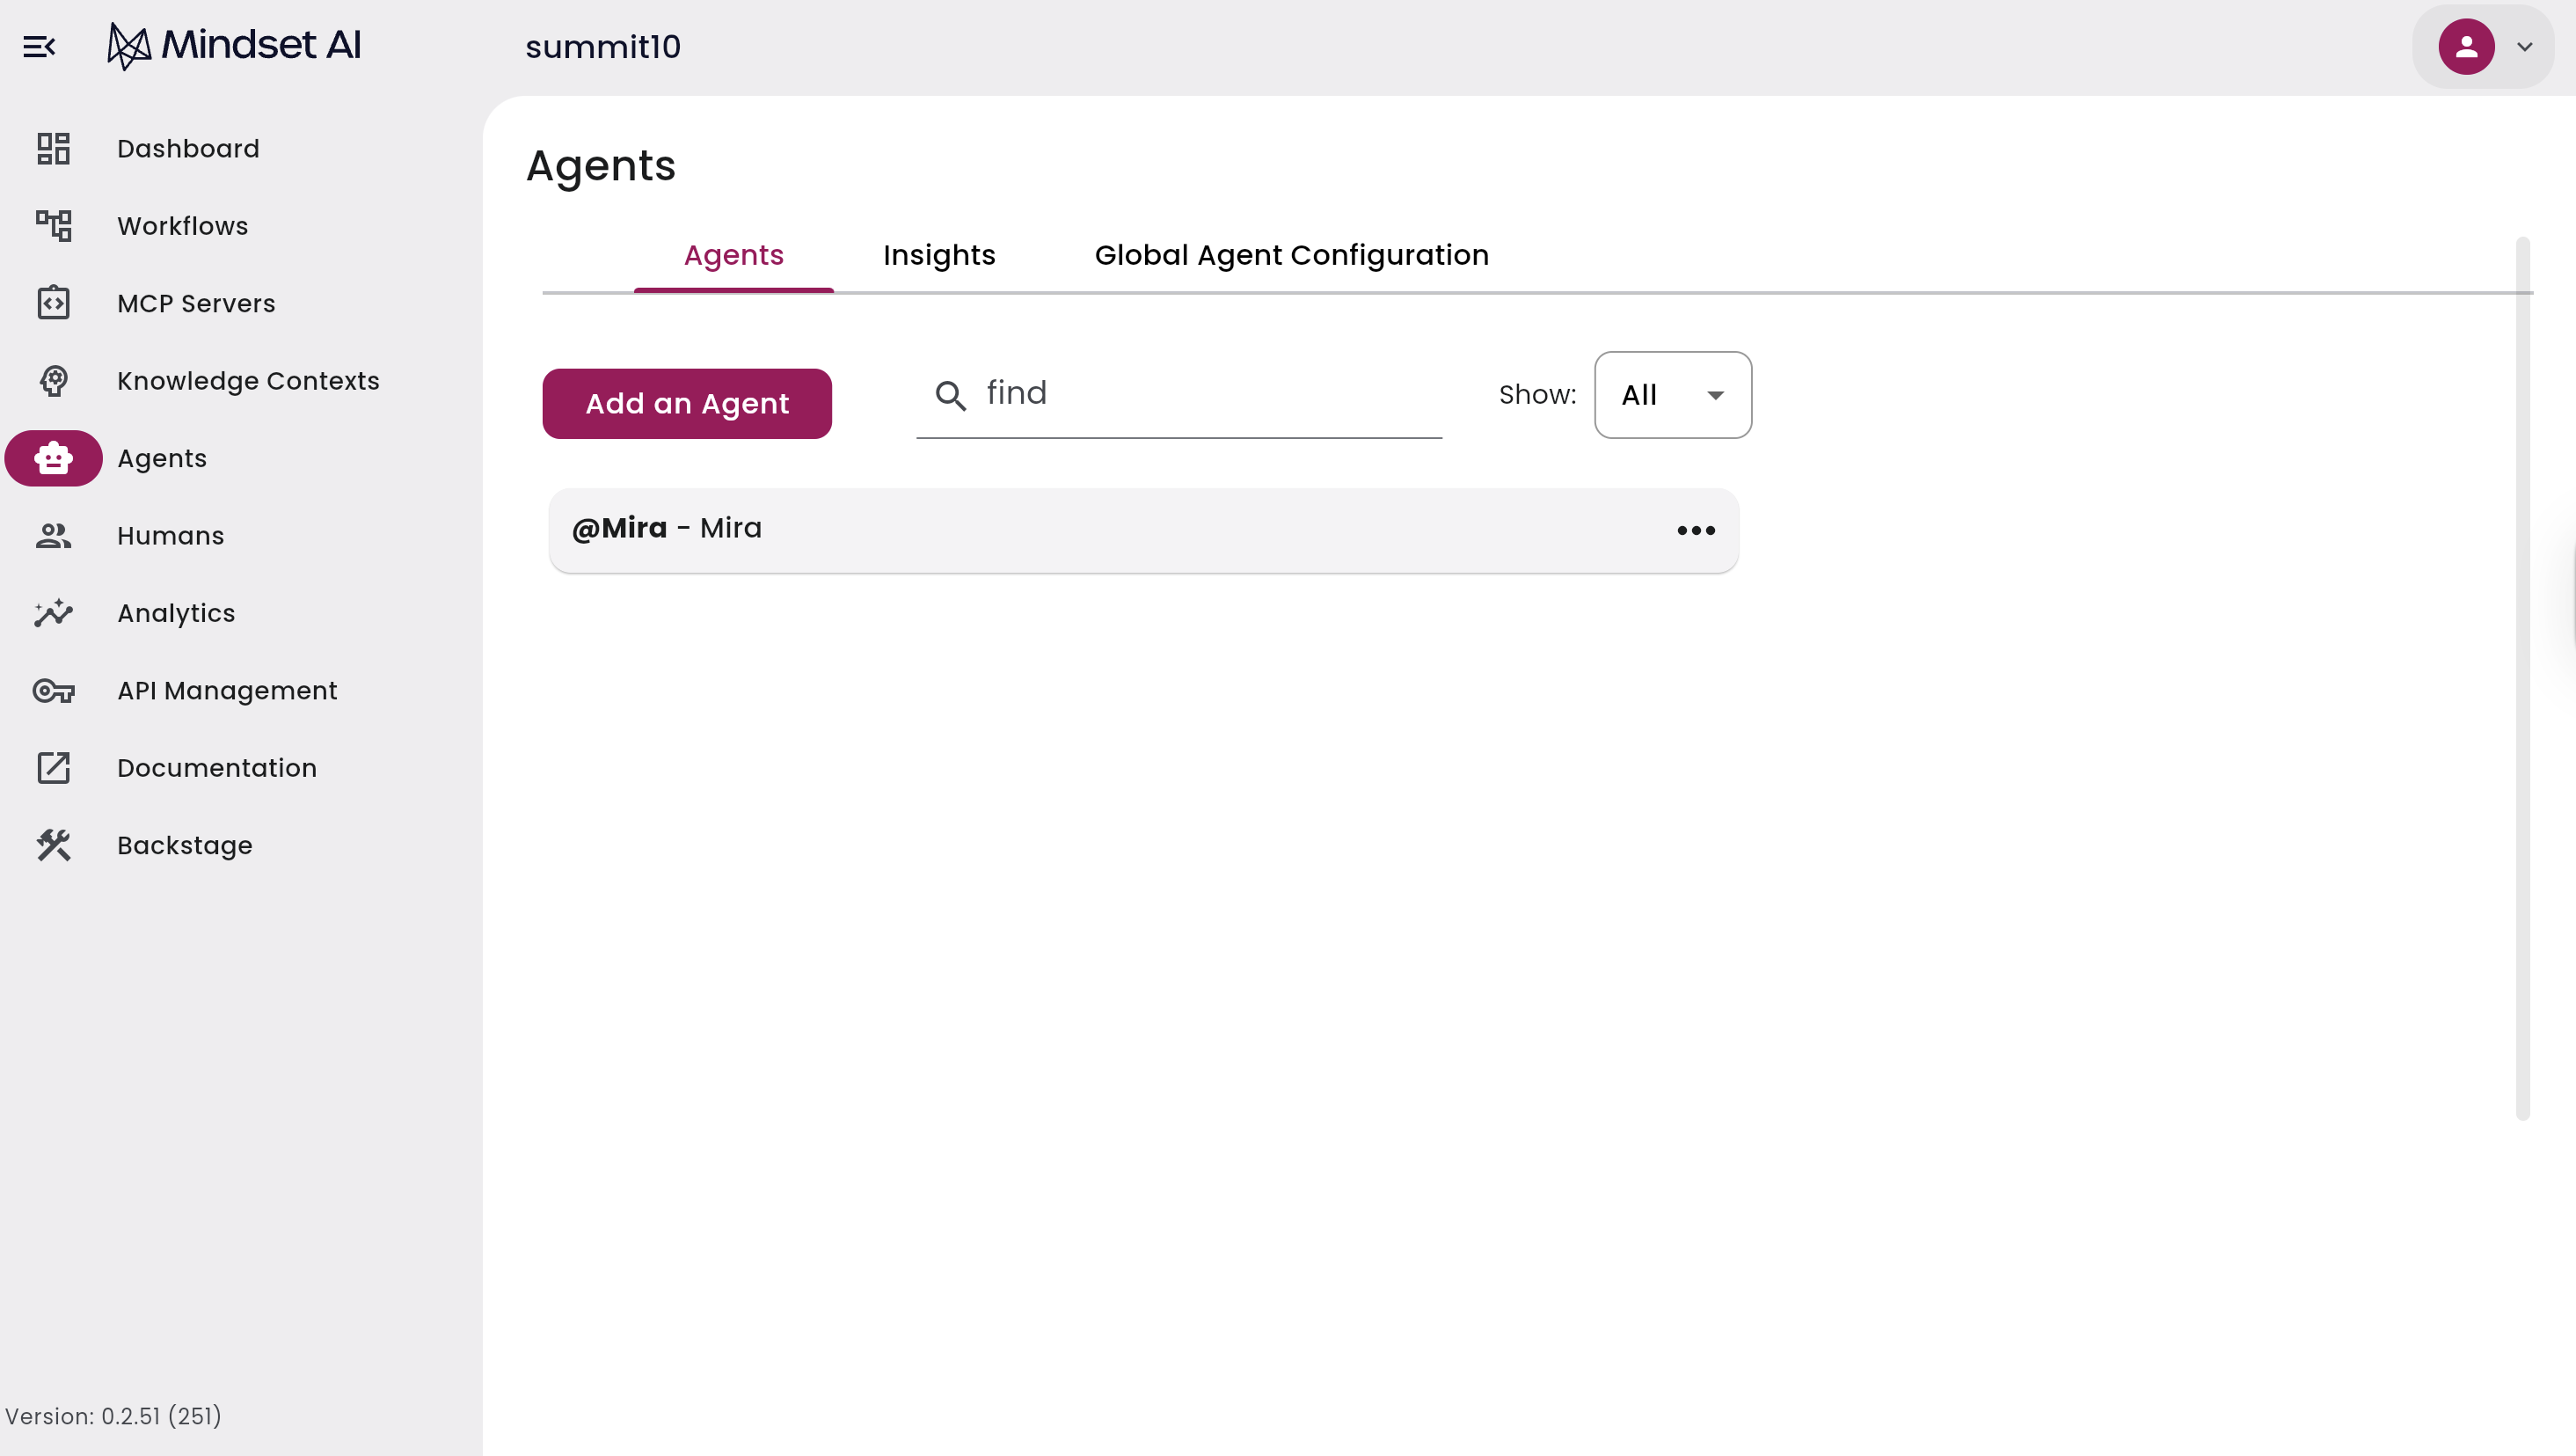
When creating an agent, you need to configure all attributes.
More information can be found here
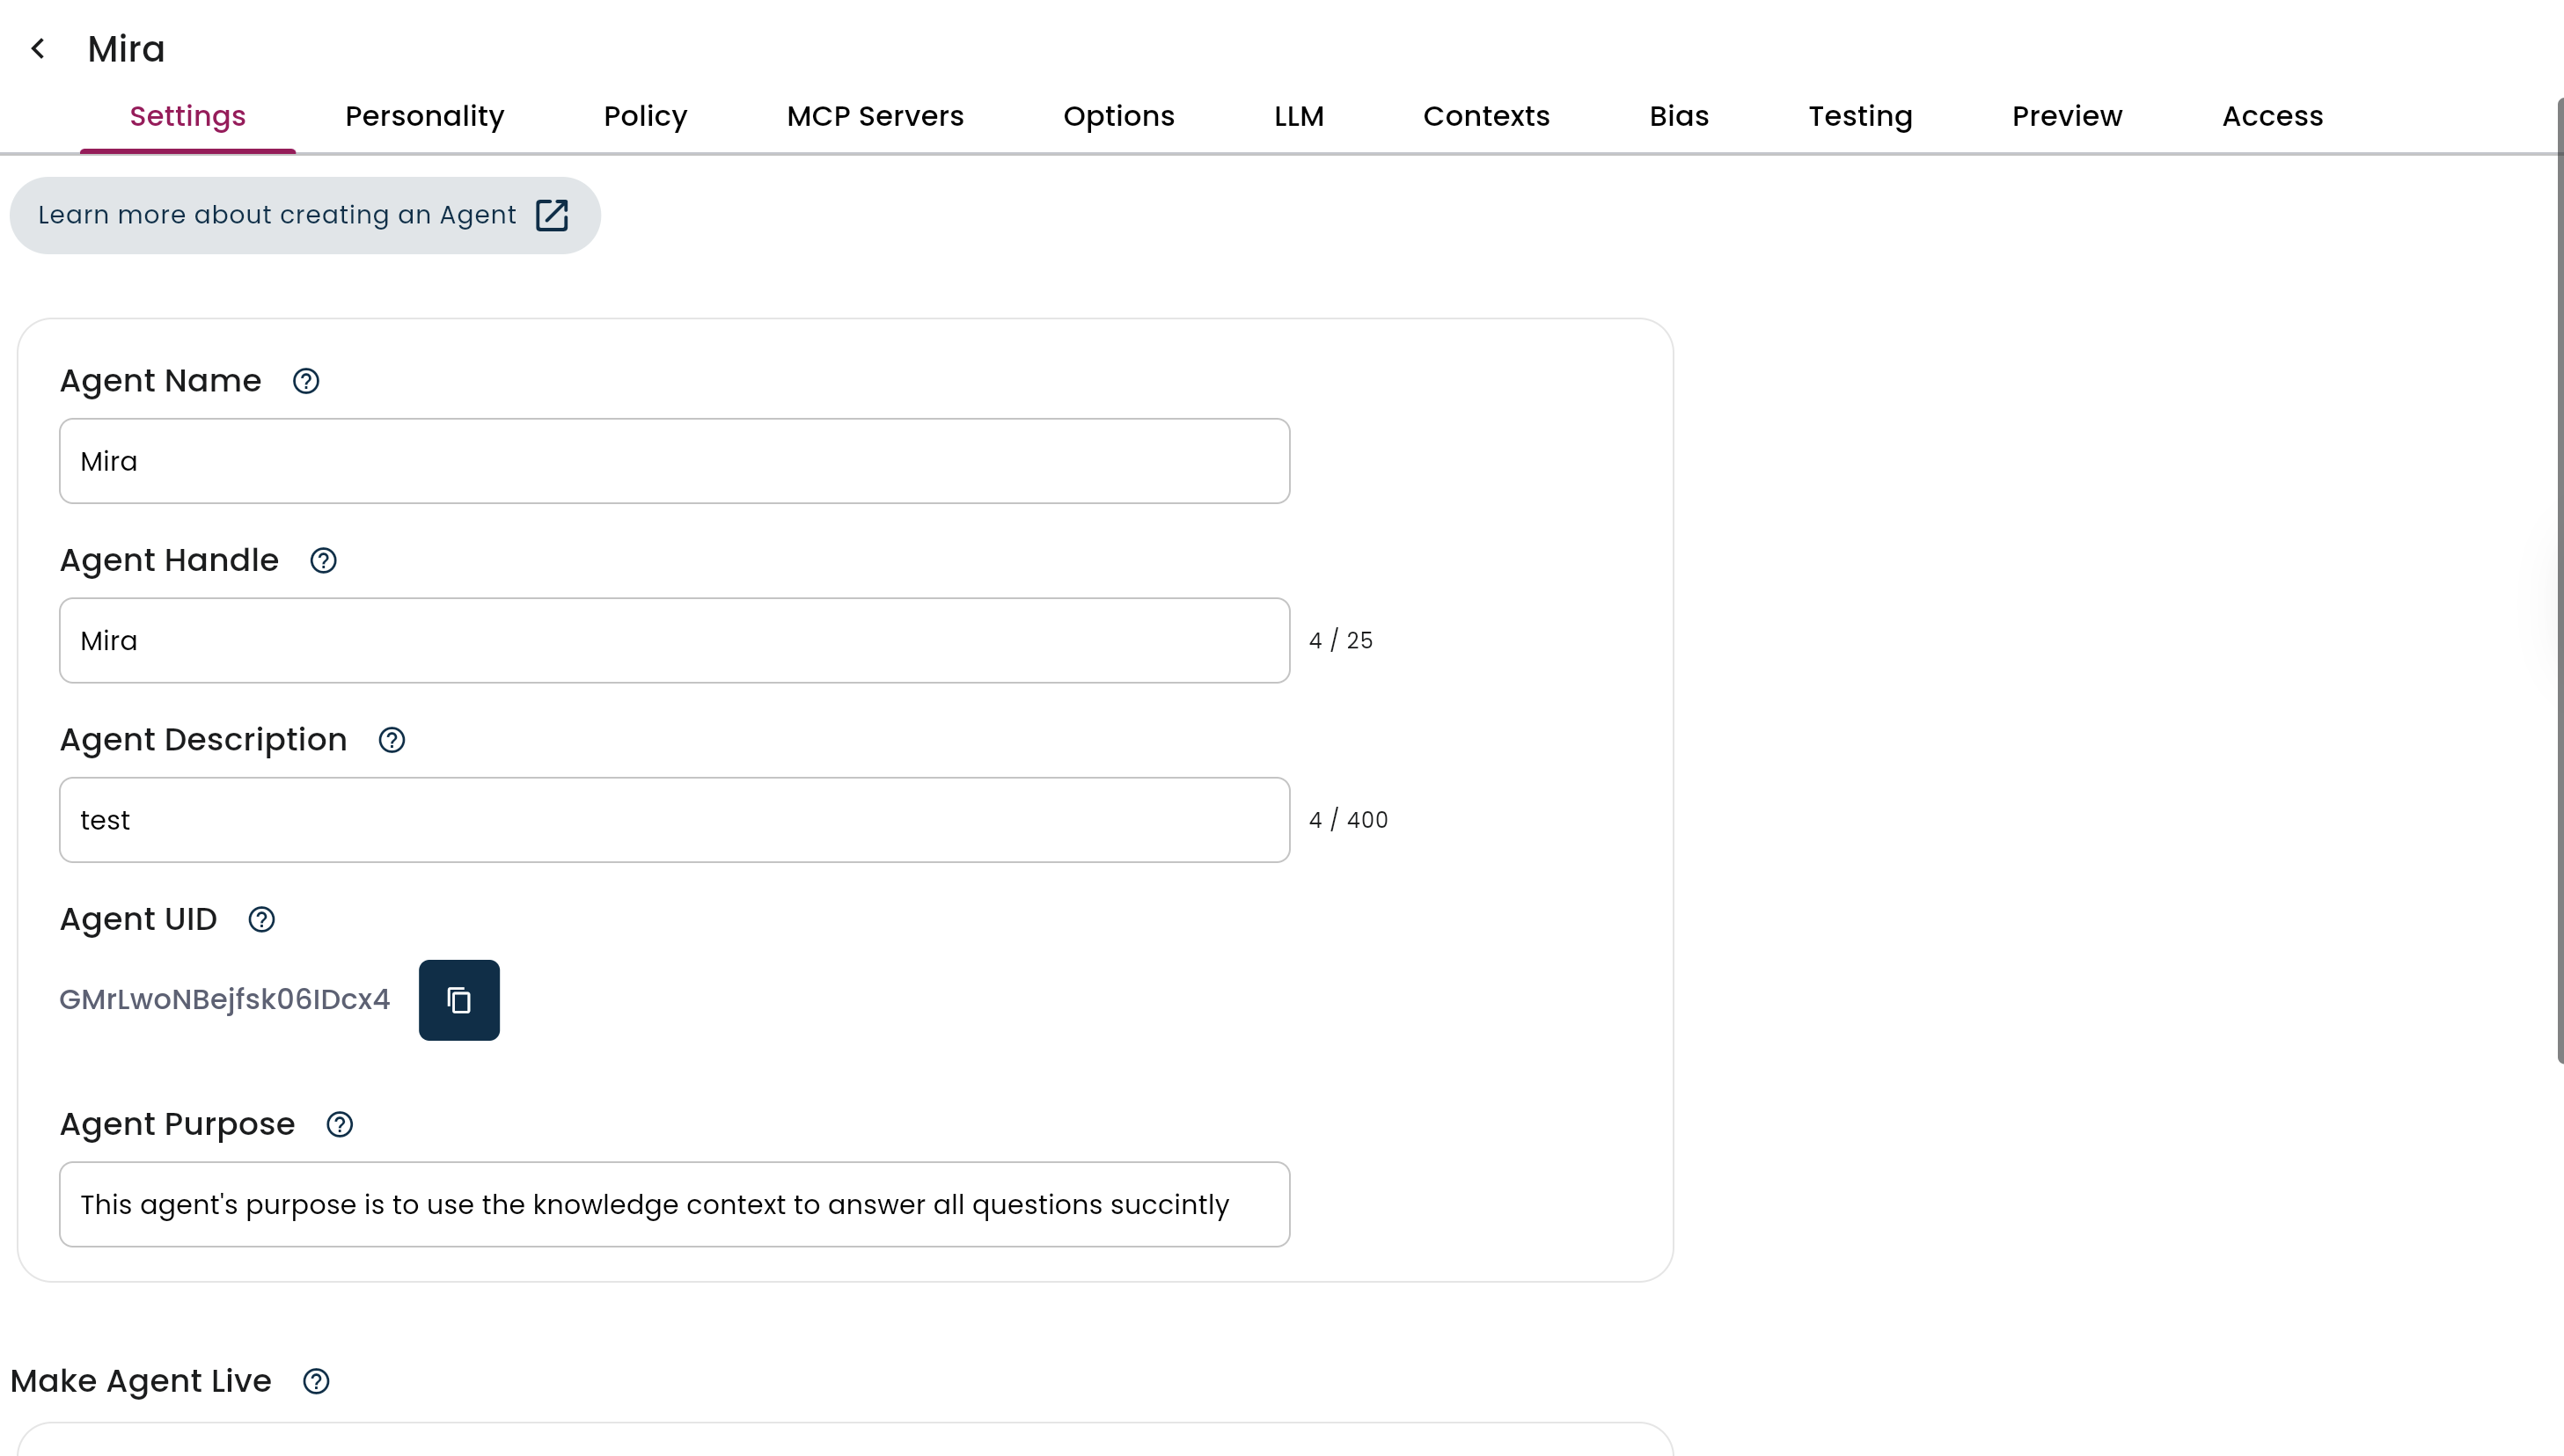
Knowledge Contexts
Bundles of files, links, and data that an agent can retrieve at runtime. This is the agent’s dynamic reference library.
Find more information about Knowledge Contexts here
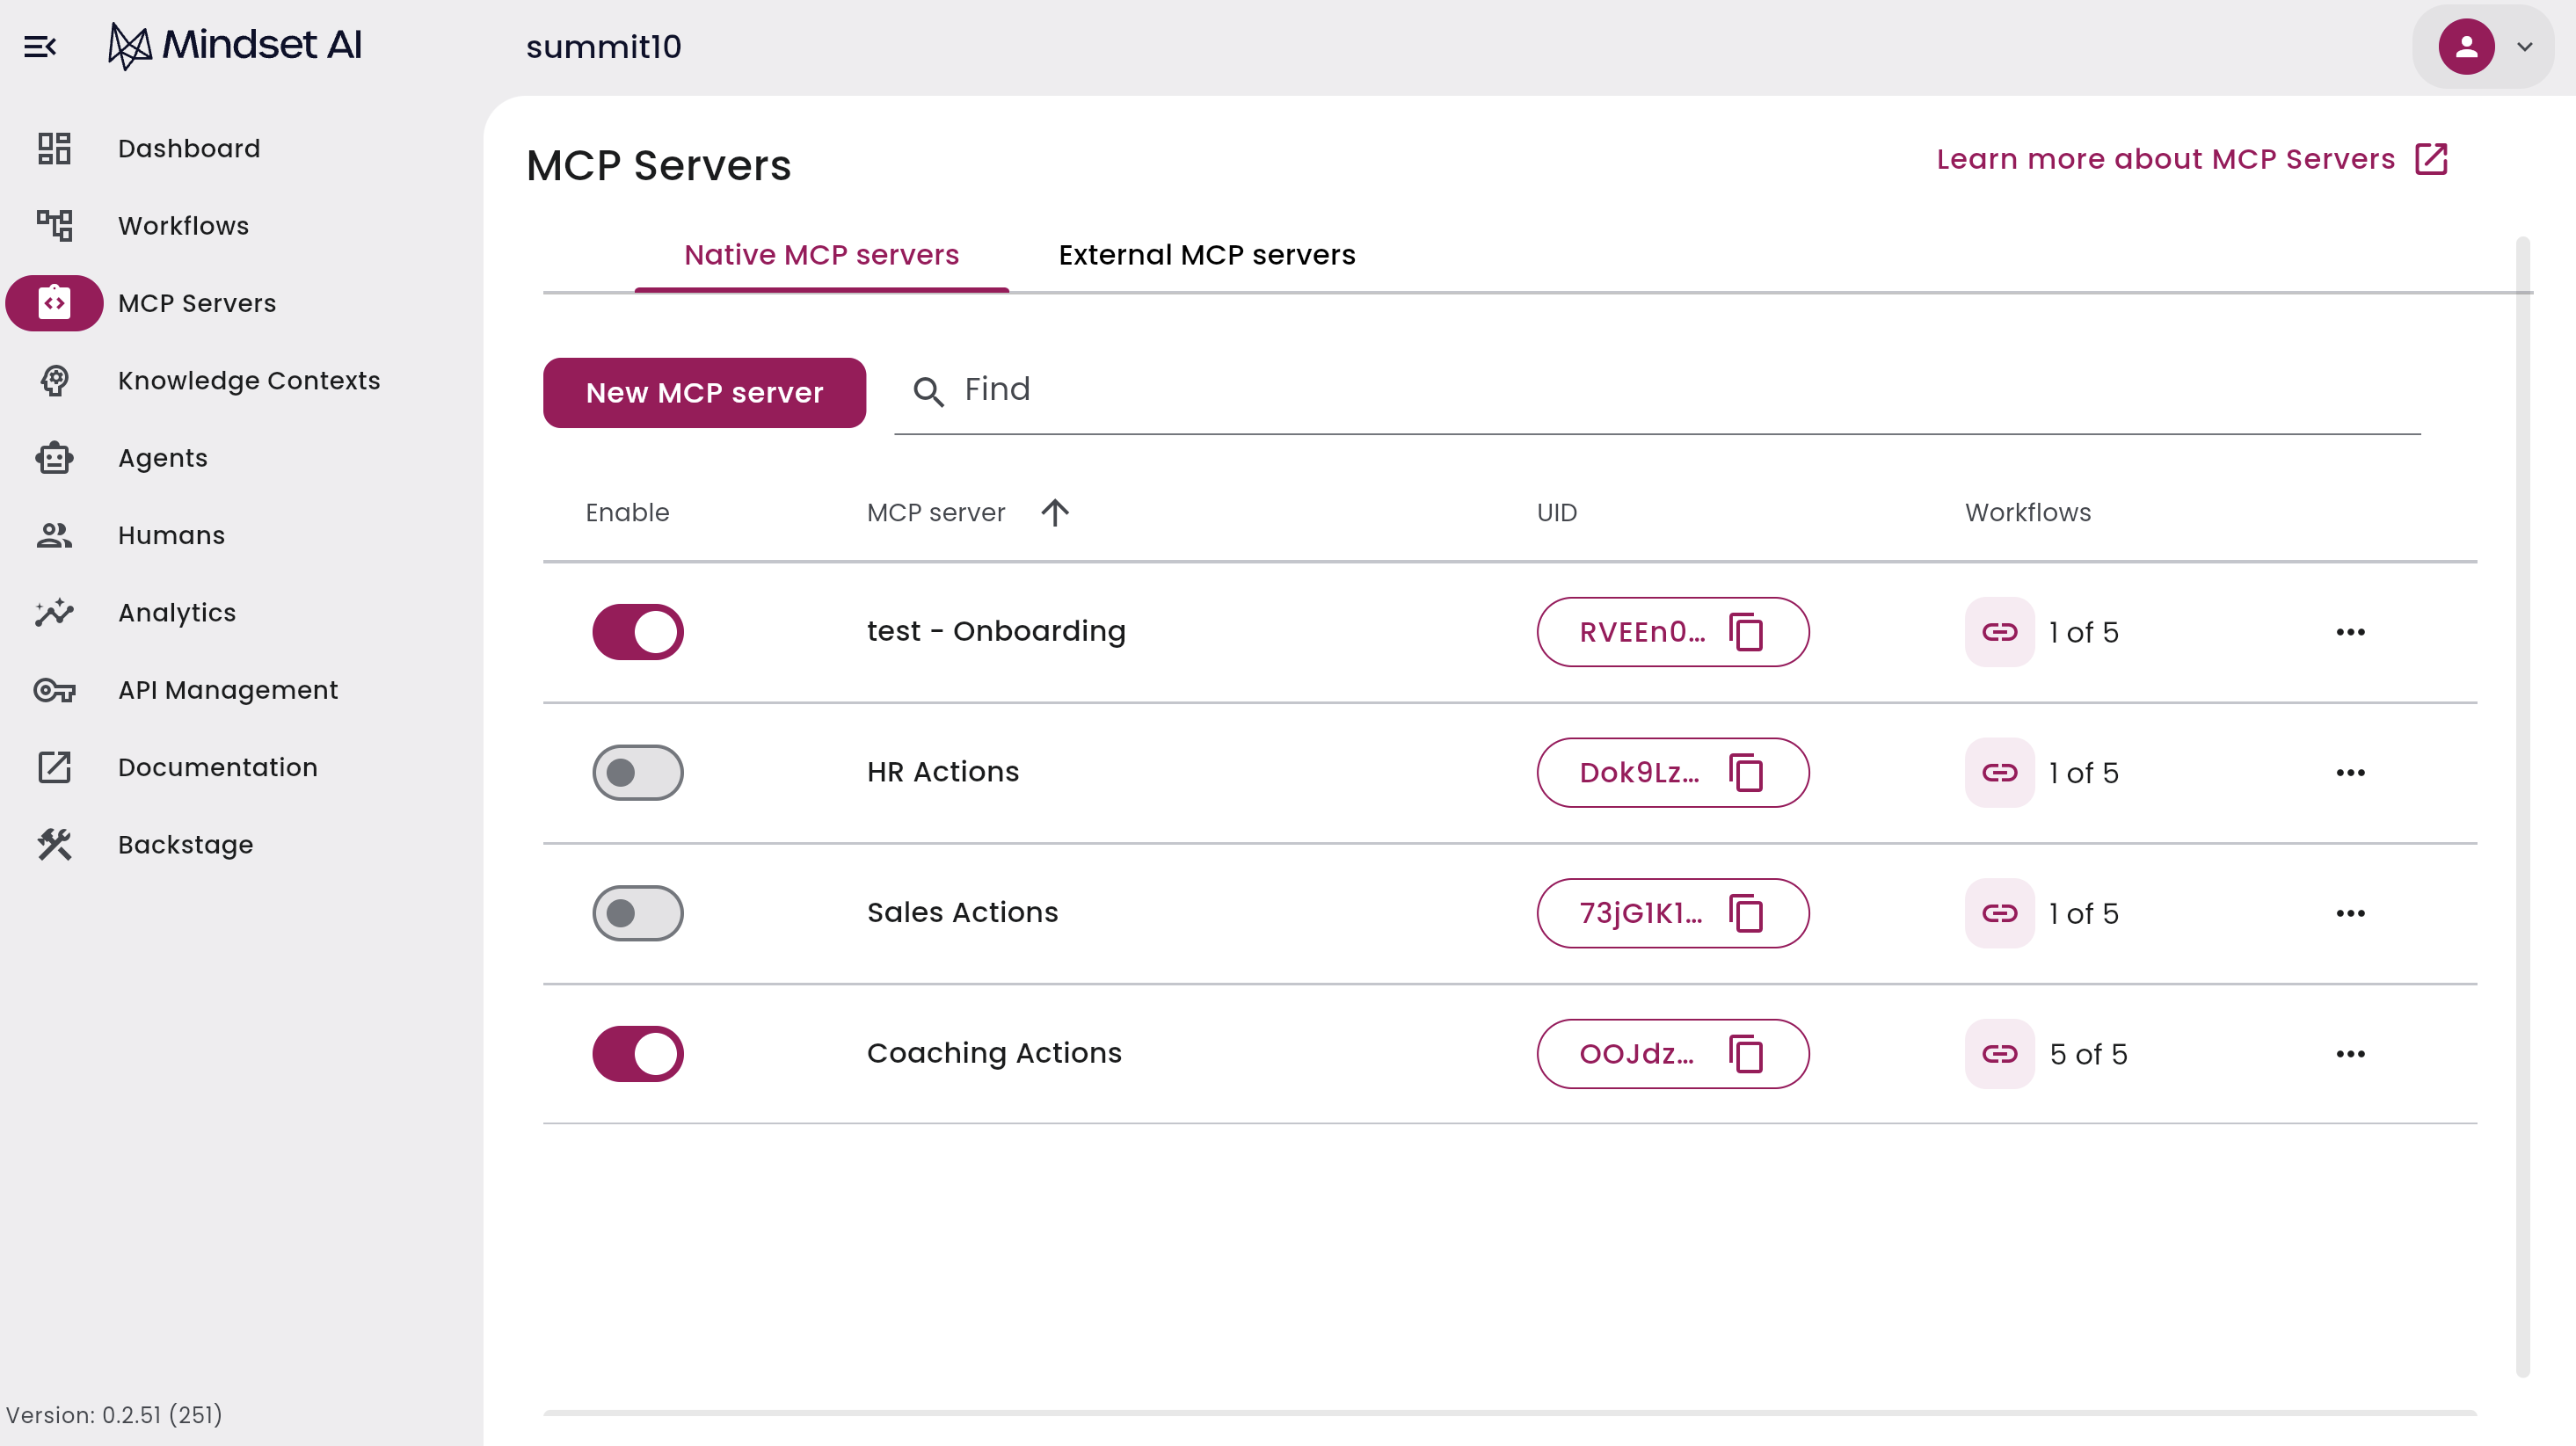
MCP Servers
Model Context Protocol (MCP) servers standardize how agents talk to tools, APIs, and data sources. They bundle tools and expose Workflows to agents in a consistent way.
Learn more about MCP Servers here
Workflows
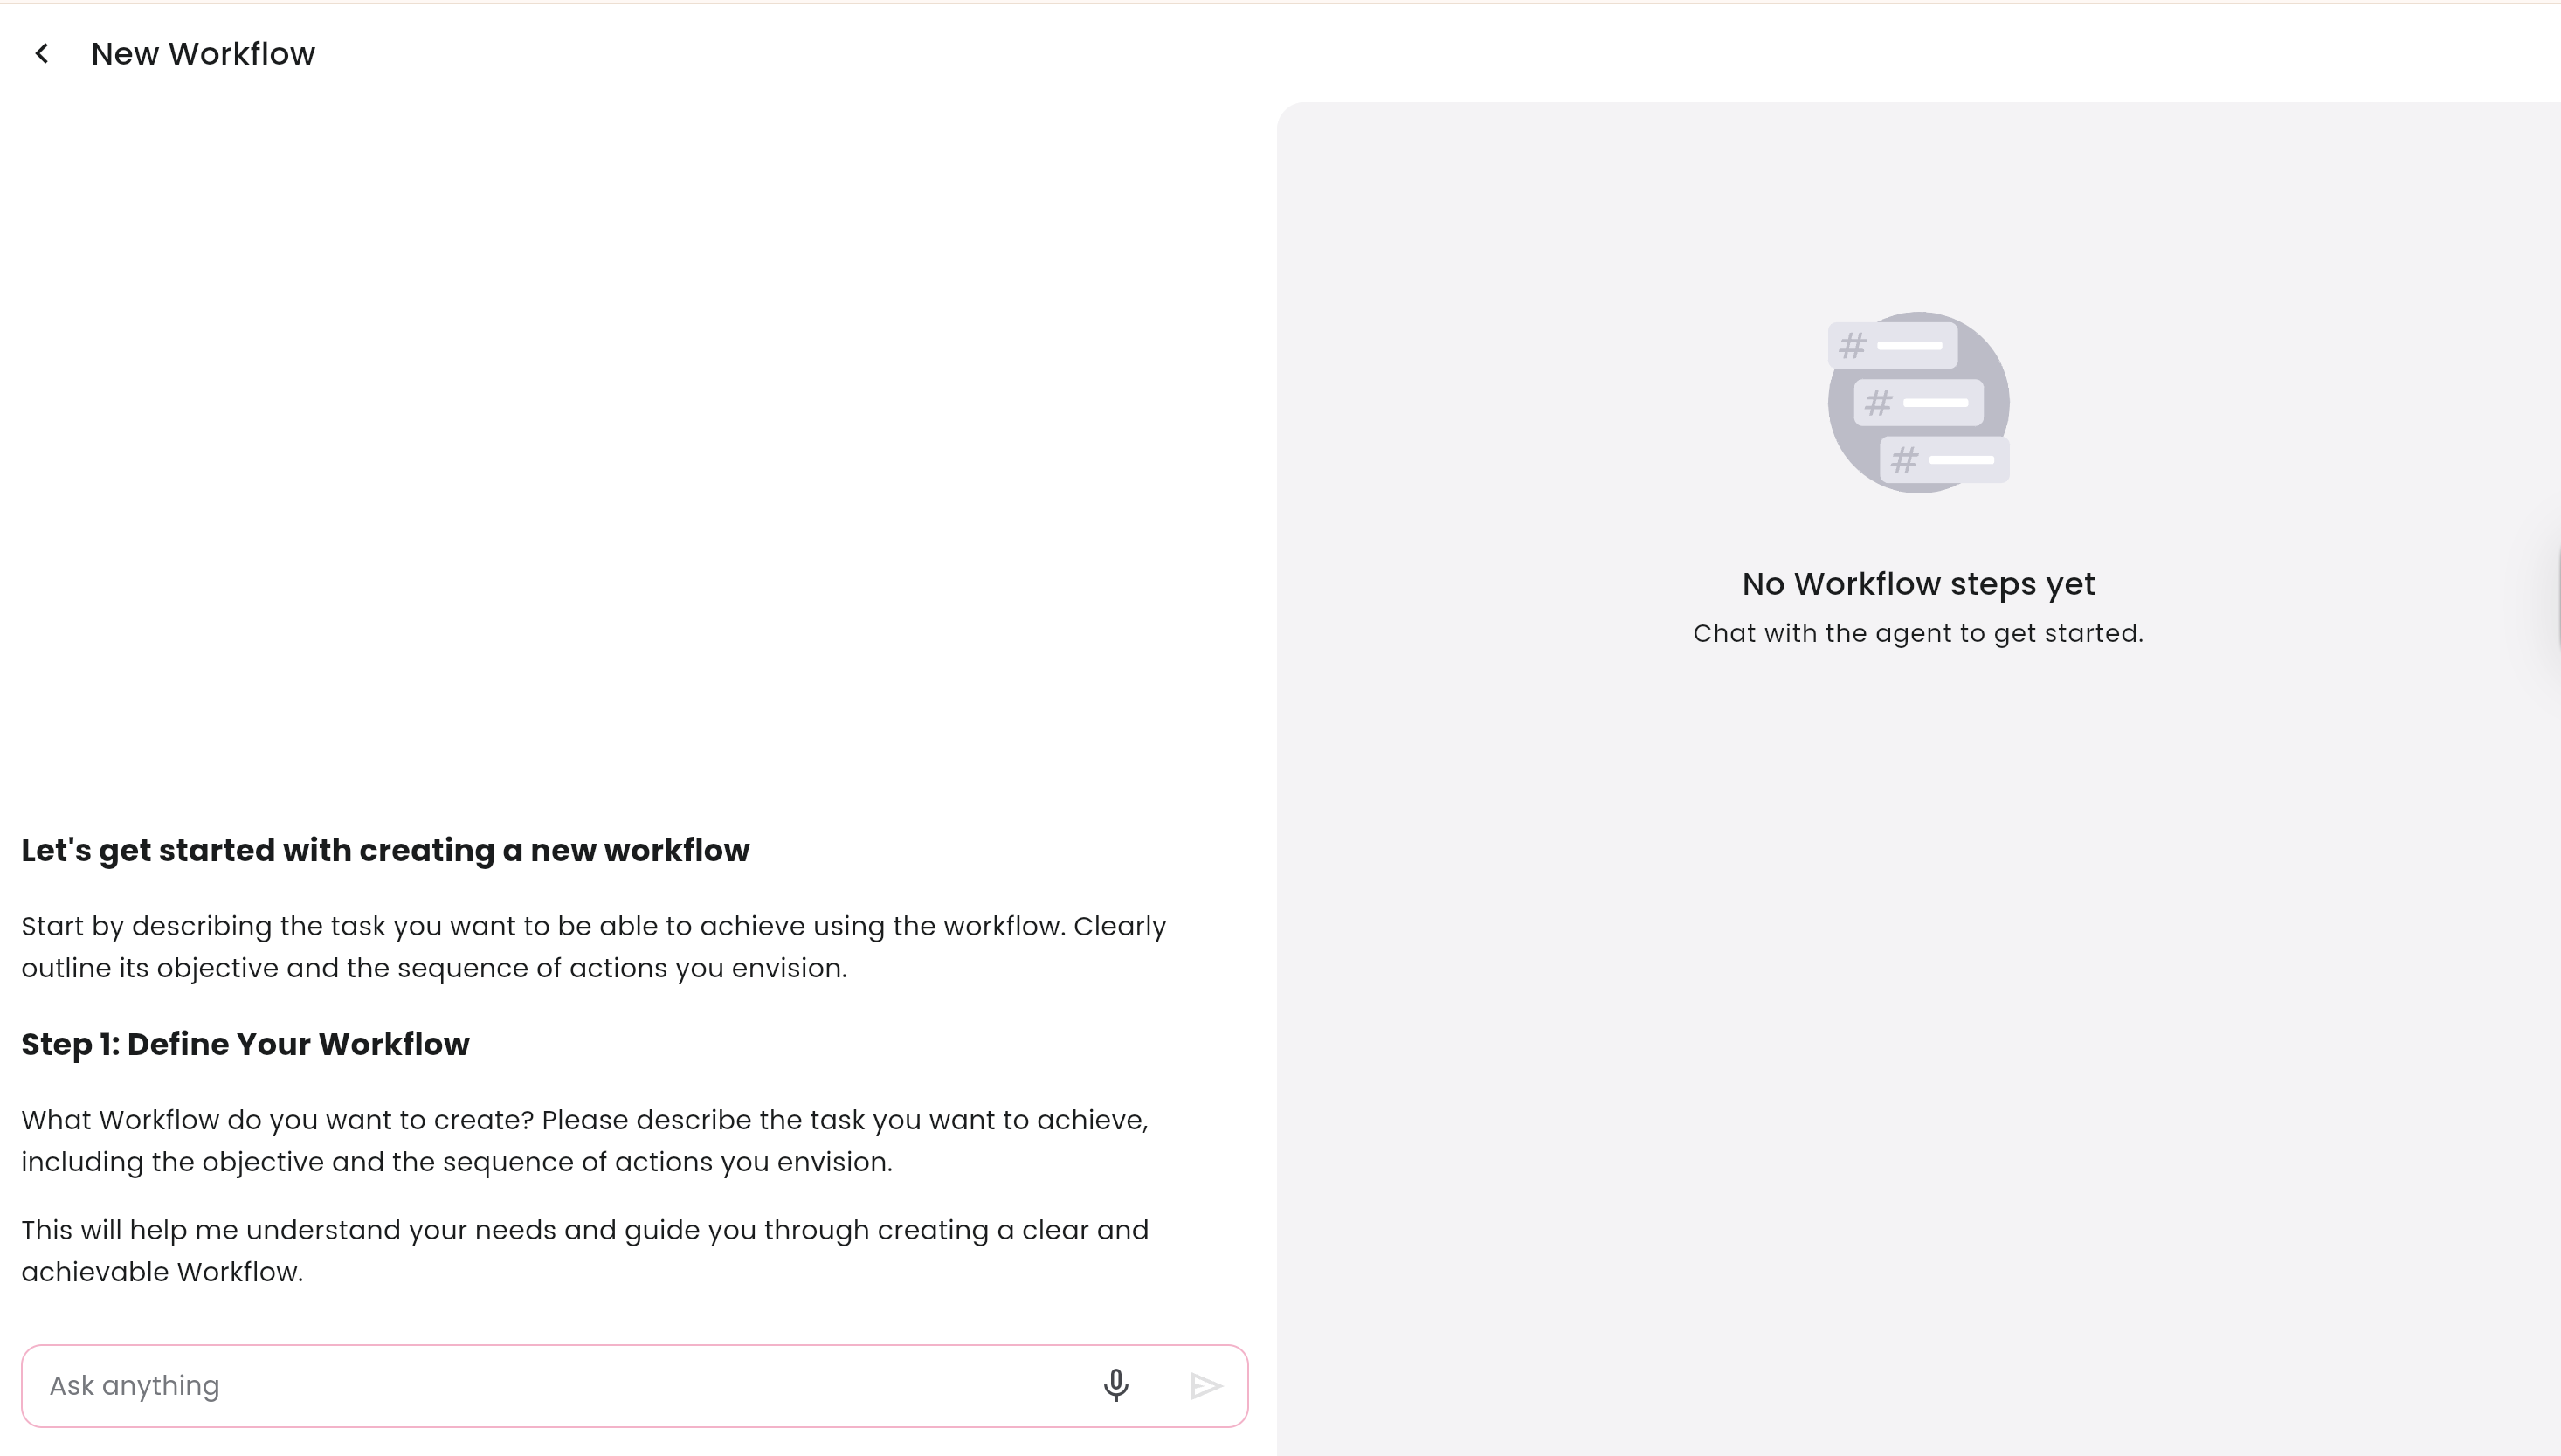
Workflows transform how you build agent capabilities. Instead of complex development, you describe what you want your agent to do in natural language and the system generates functional tools automatically.
End-to-End: Build and Deploy an Agent
Step 1: Create a Workflow (Workflow Builder)
- Go to Workflows → New Workflow
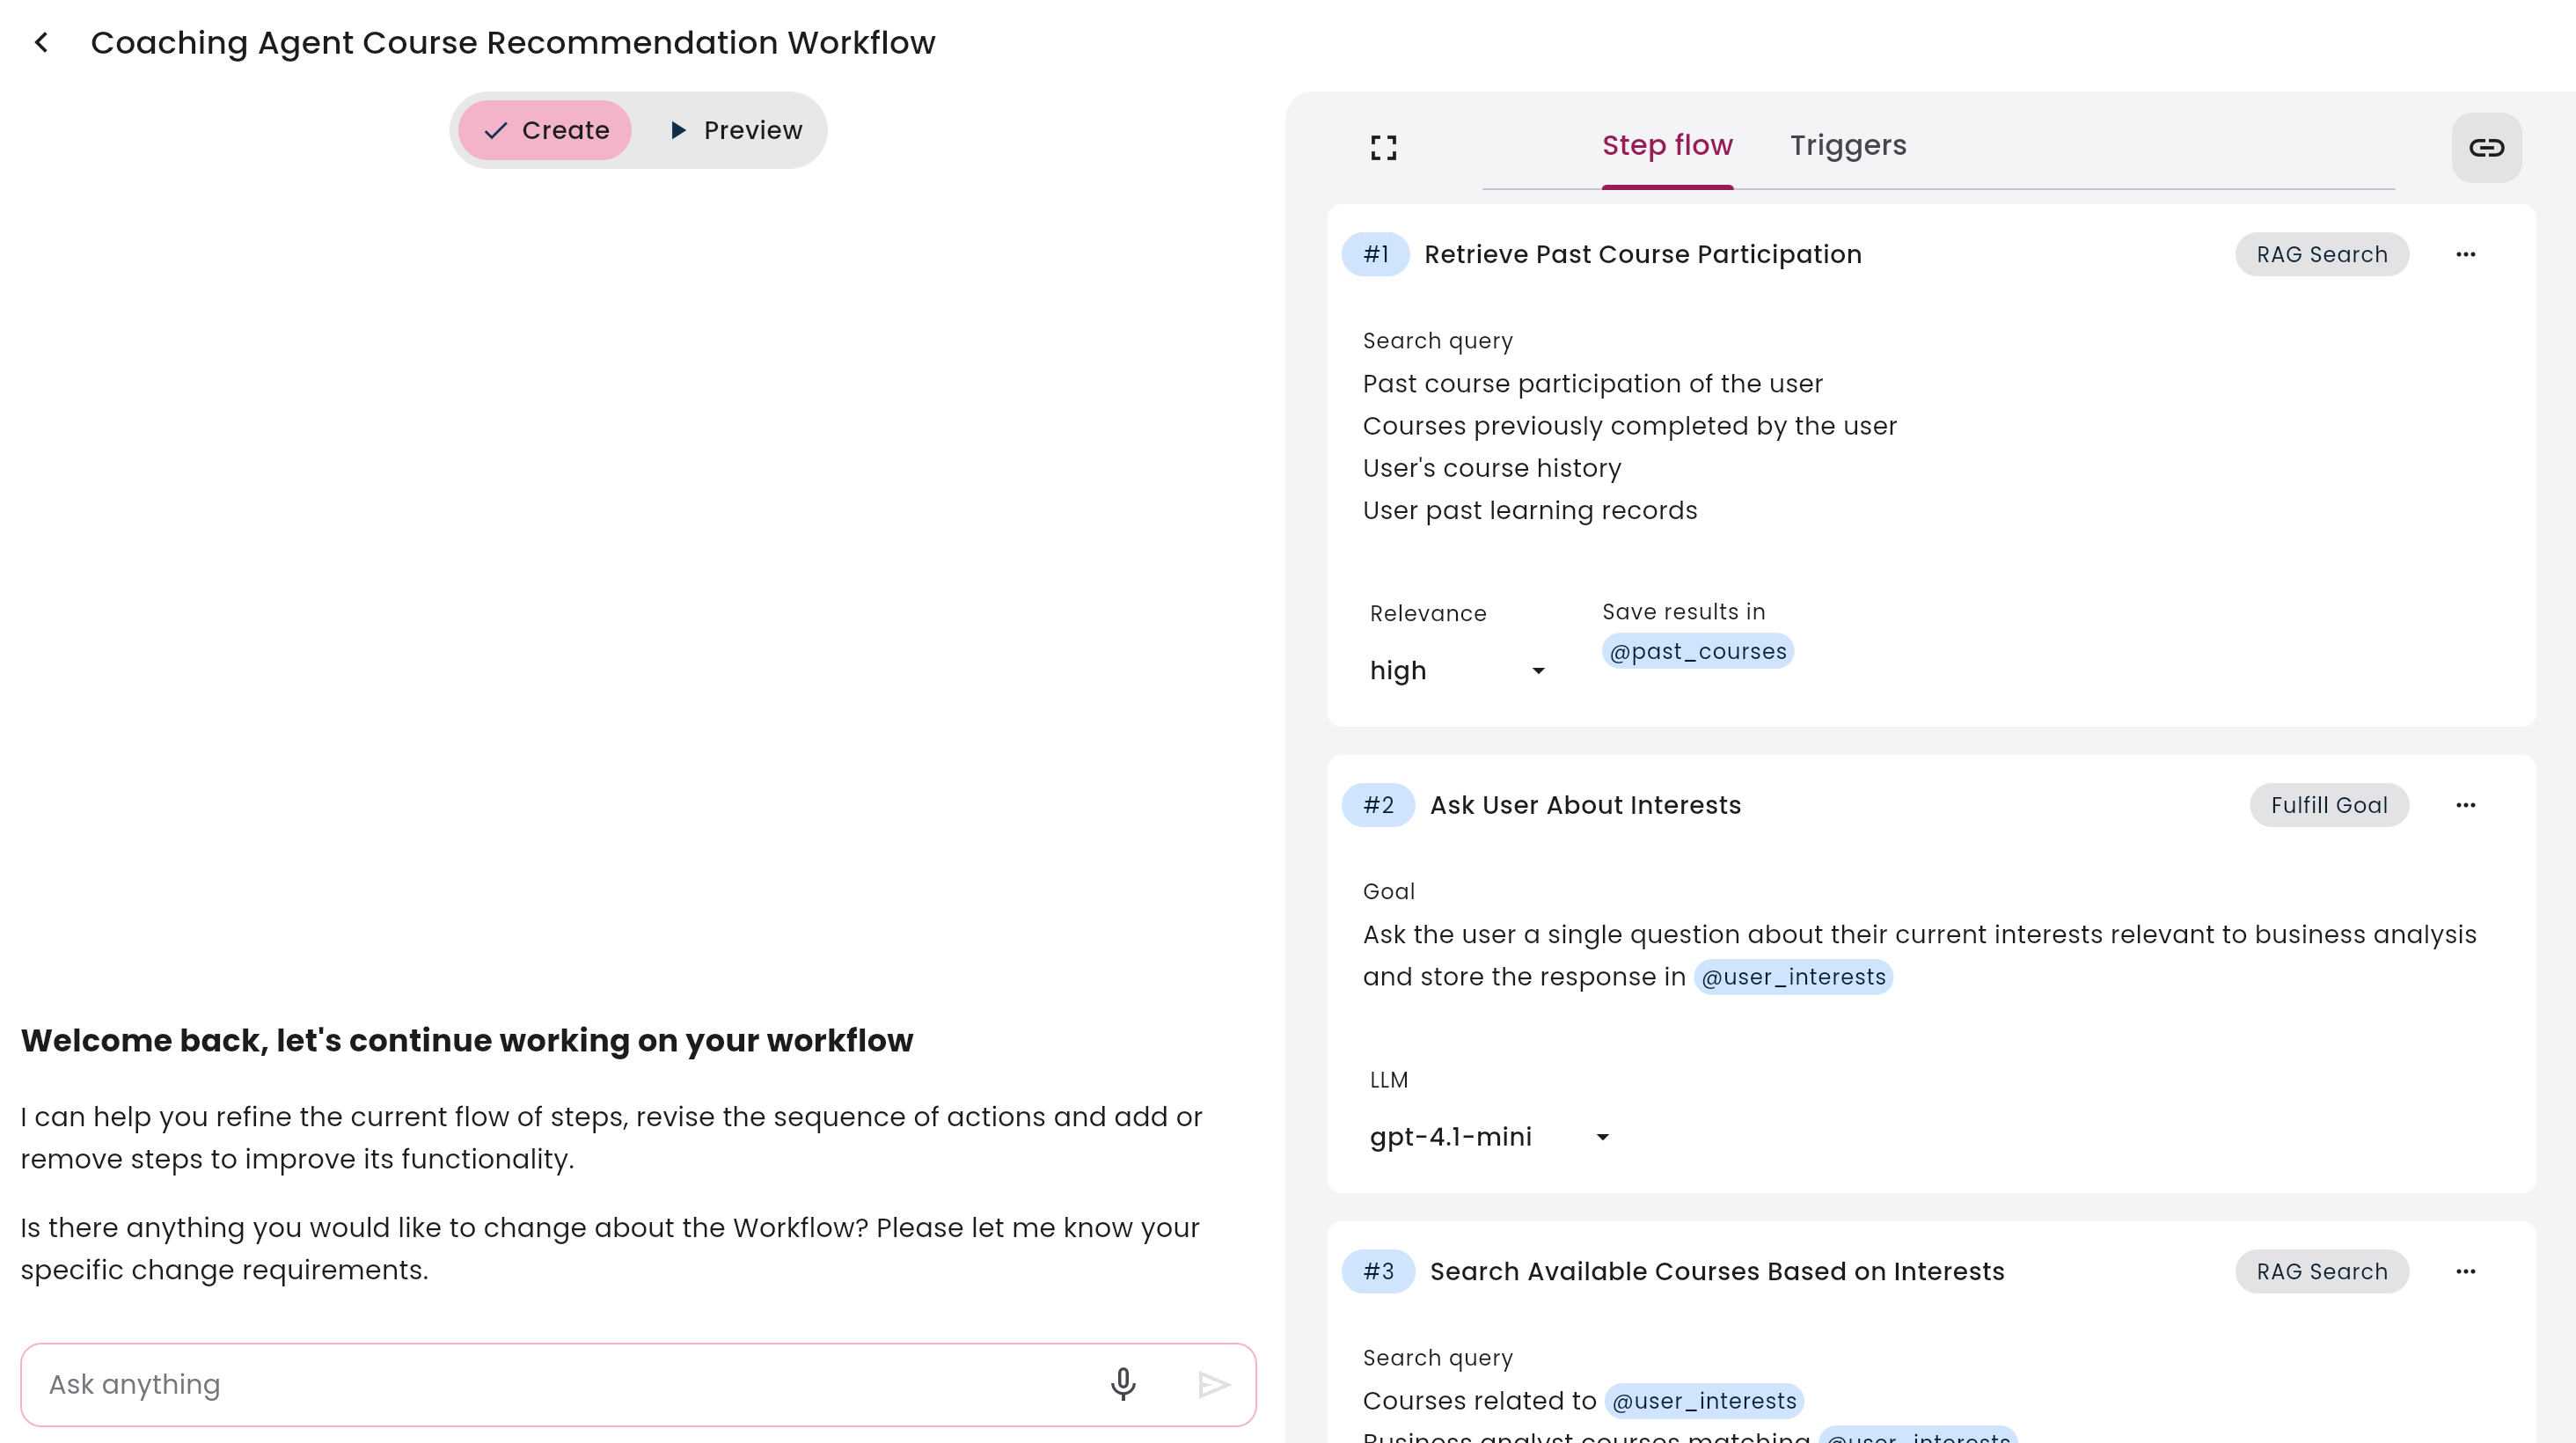
- Describe what the workflow should do in plain language
- Refine until the preview looks correct
Step 2: Add the Workflow to an MCP Server
-
Open MCP Servers and create or select a server
-
In Workflows, attach the Workflow to the MCP server
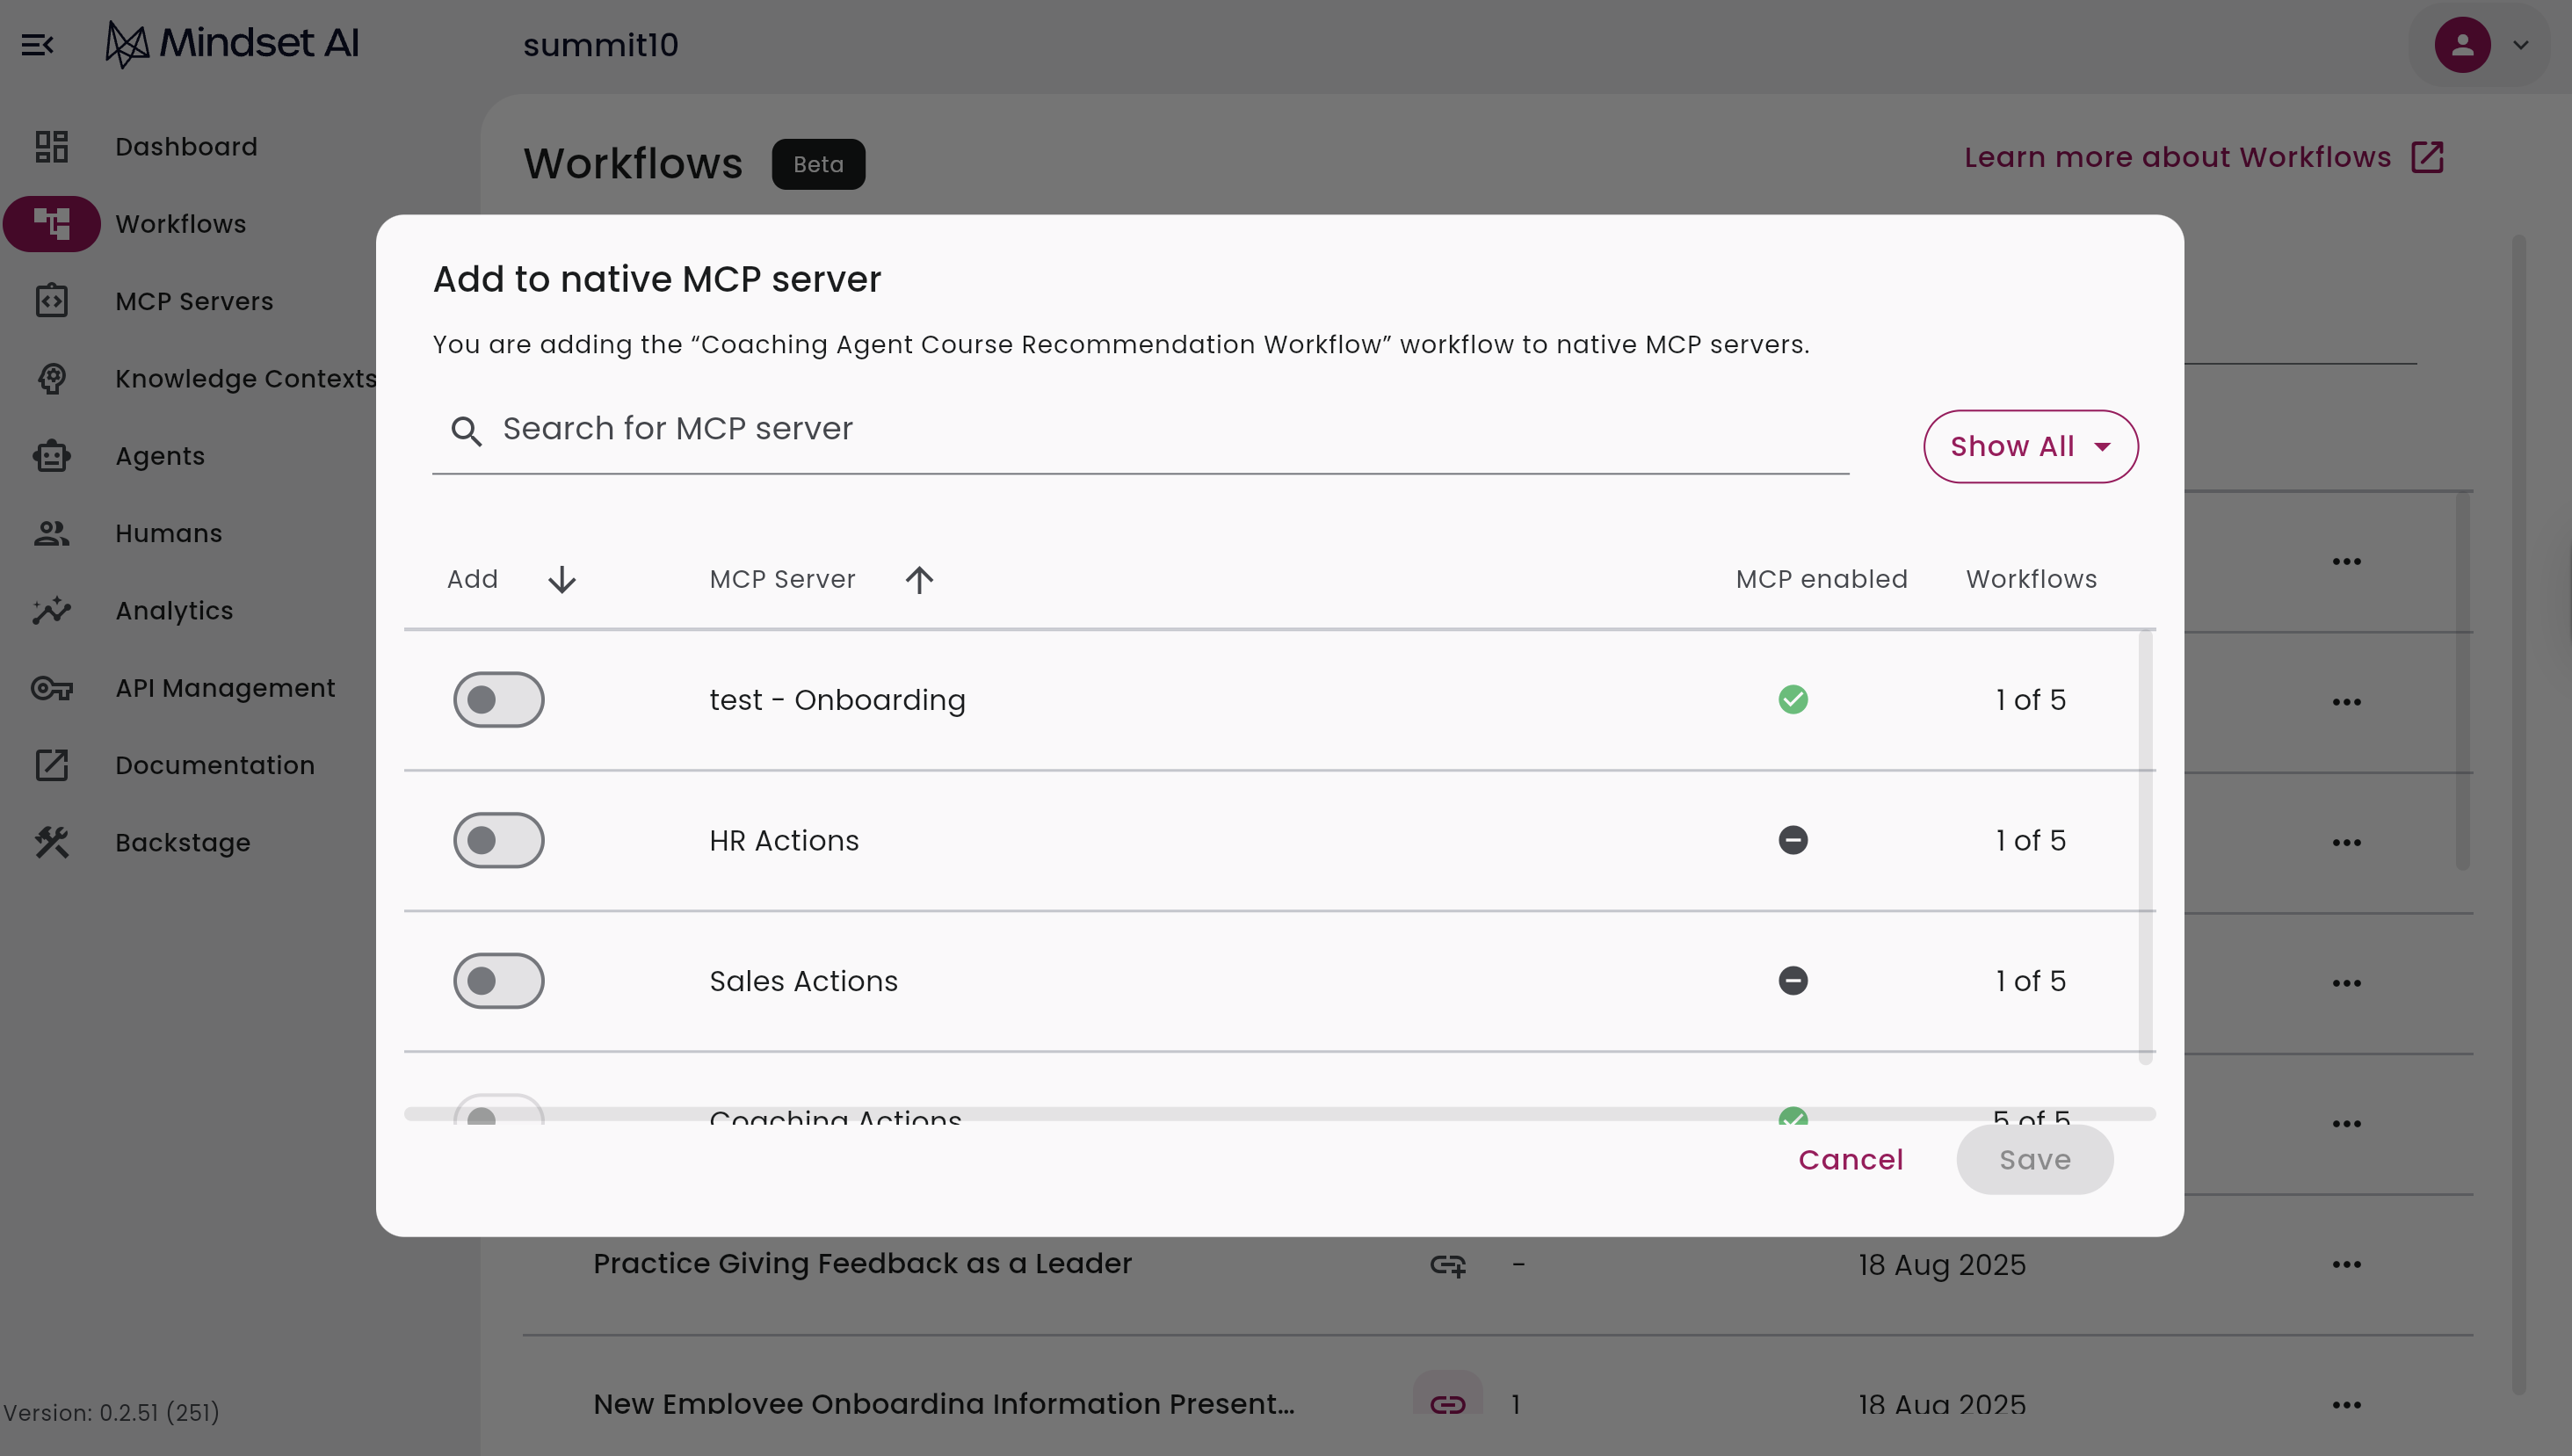
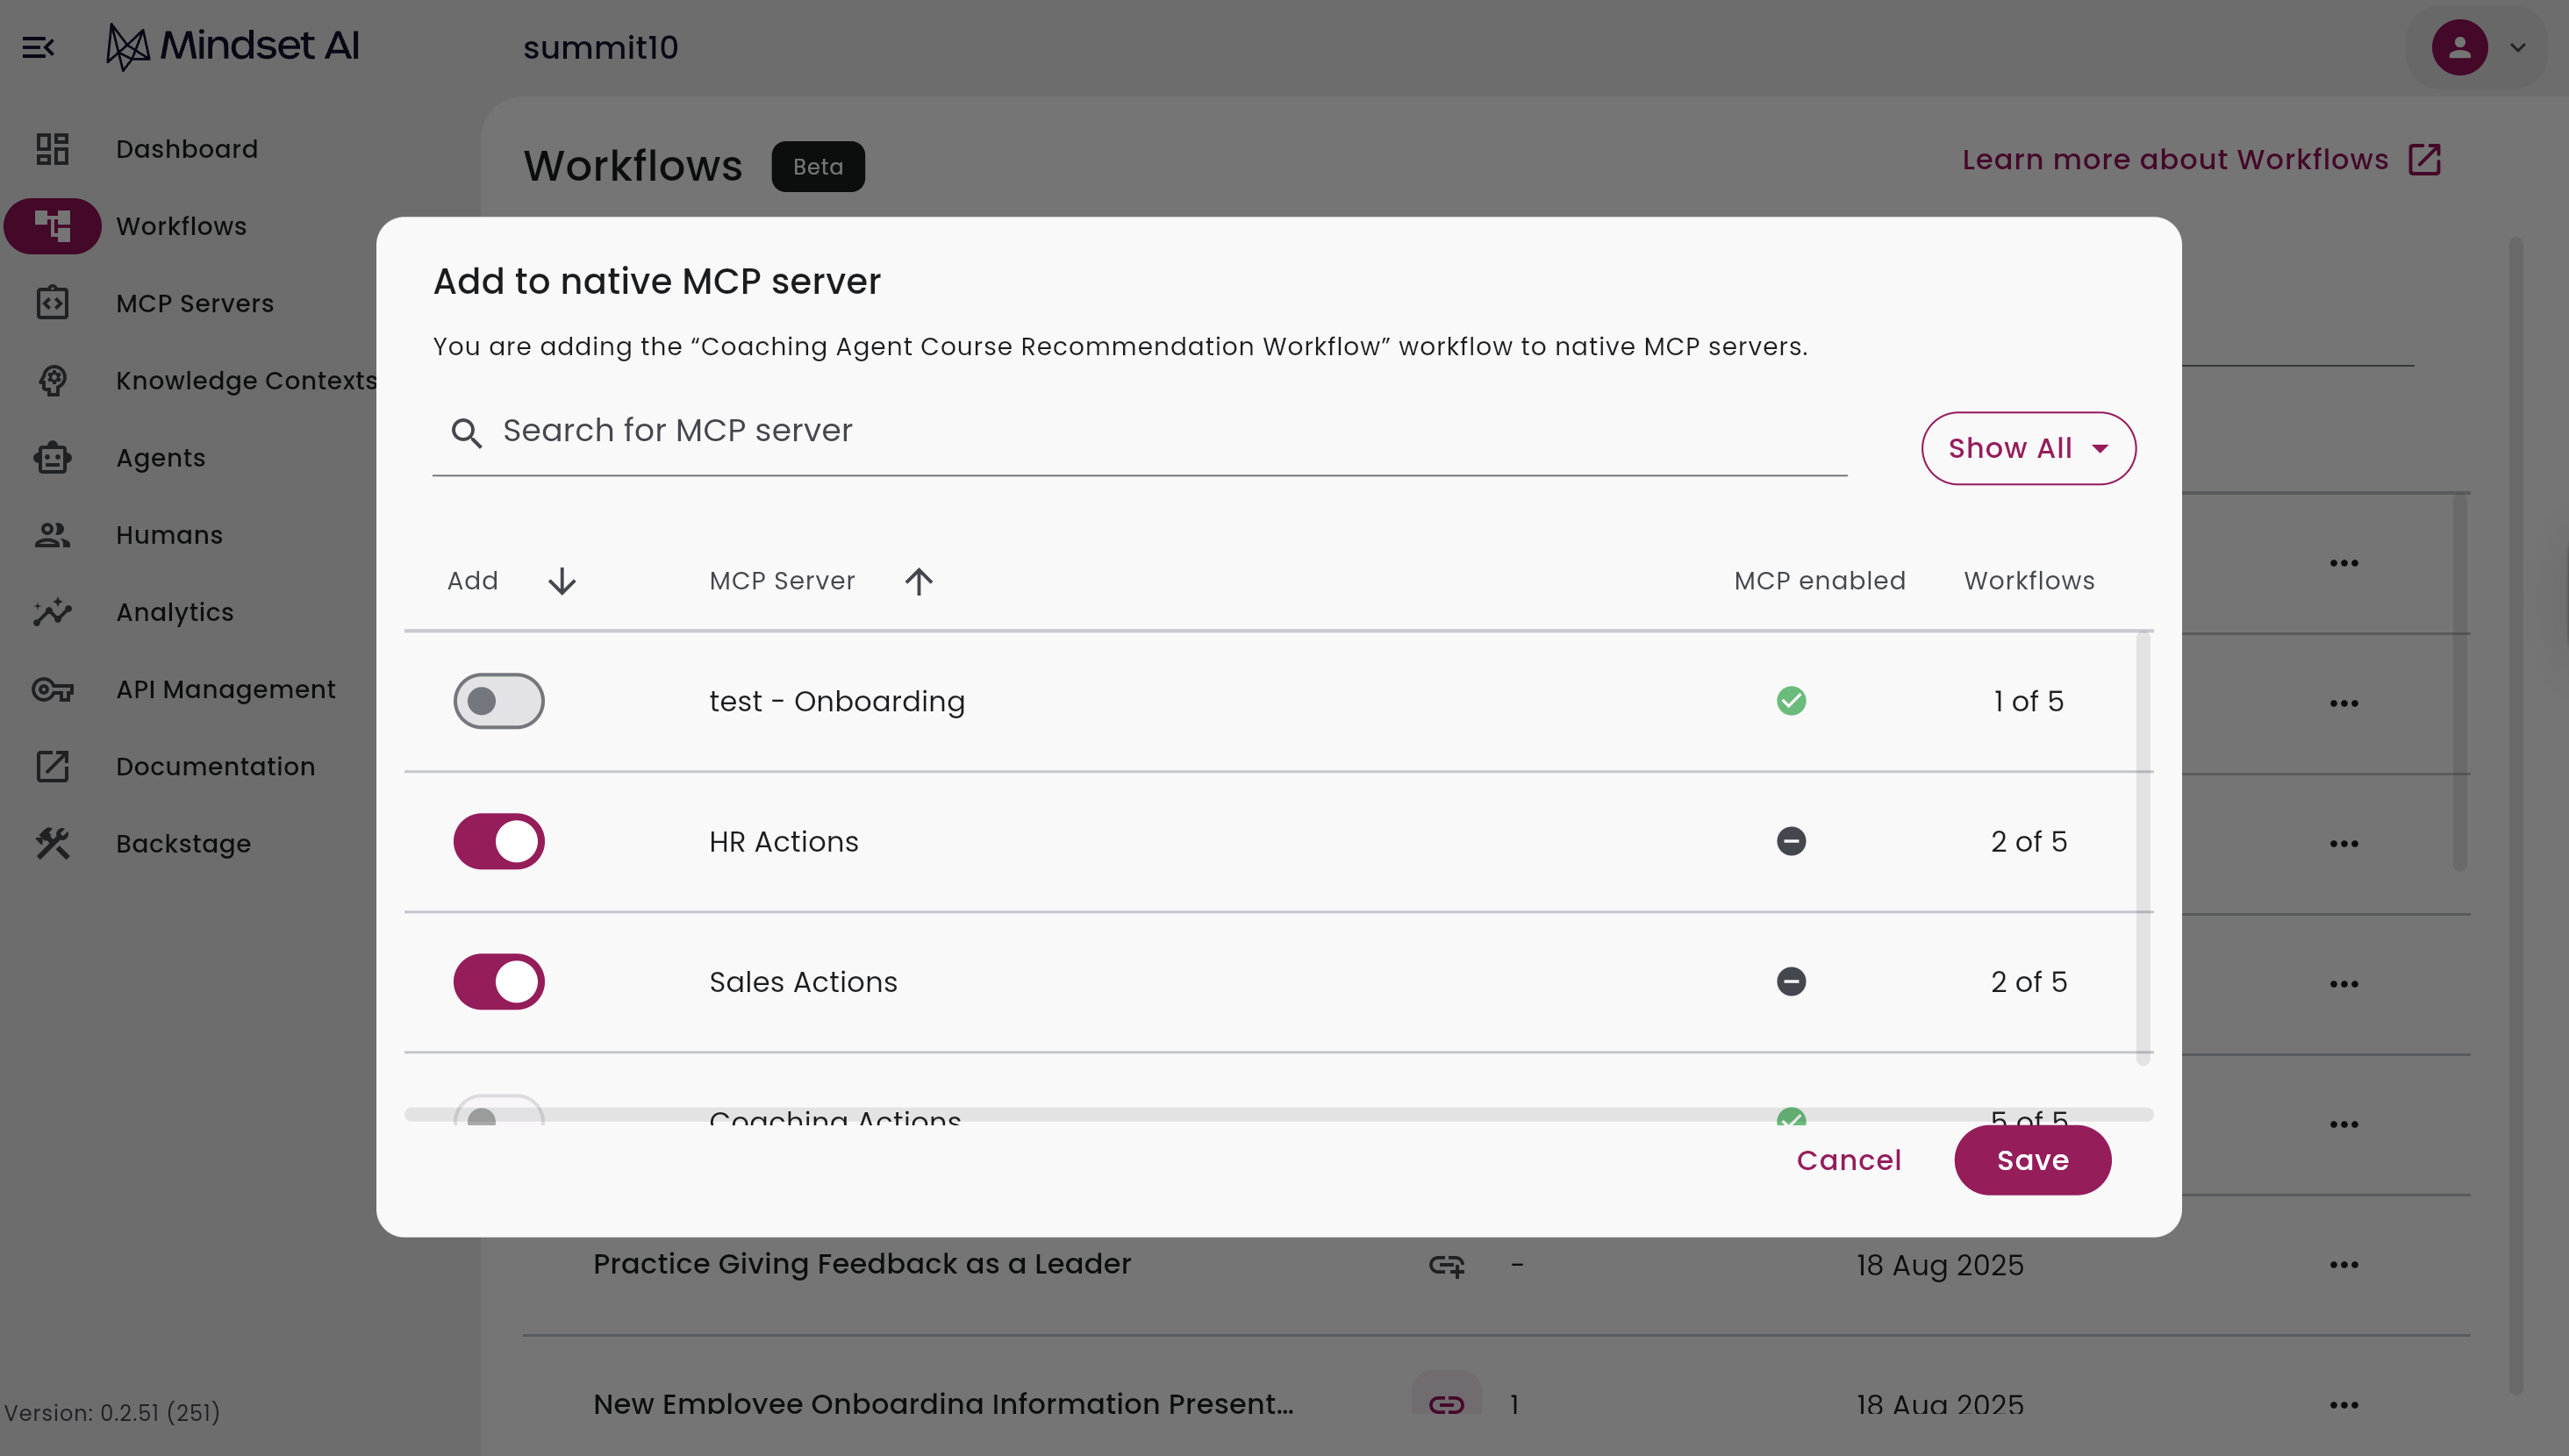
- Save to expose the workflow via this MCP server
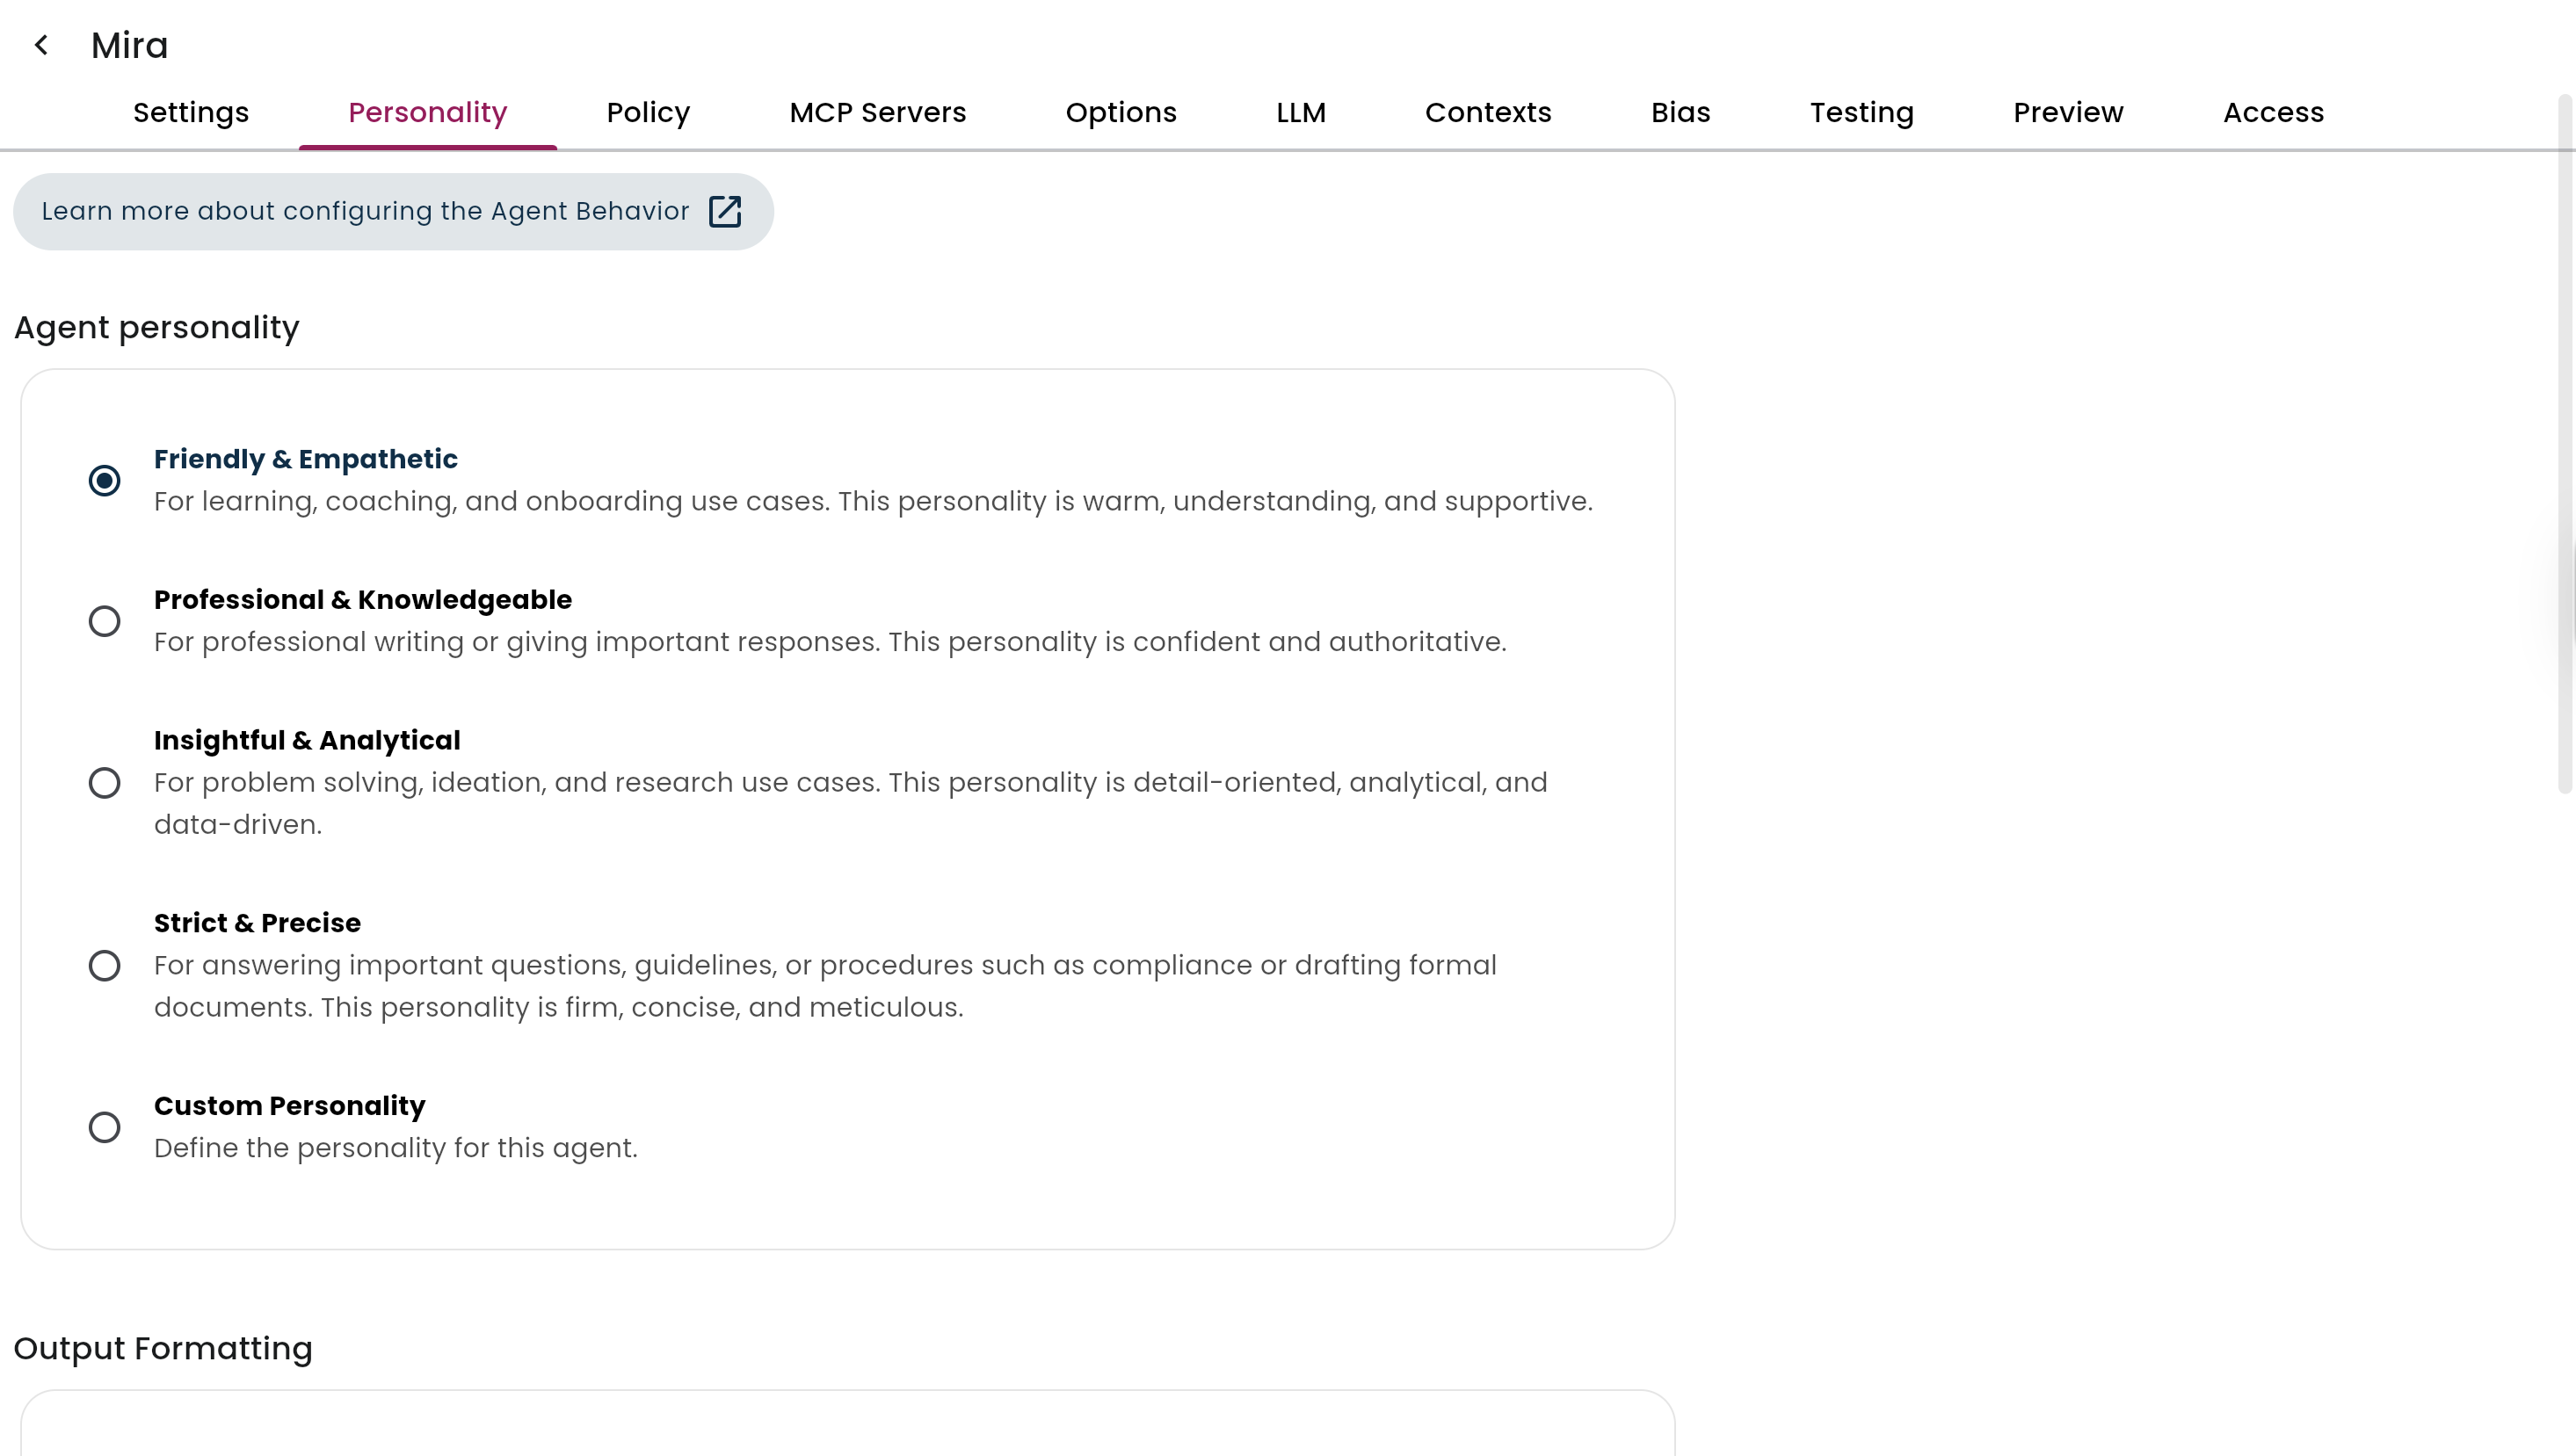
Step 3: Create your Agent
- Go to Agents → New Agent
- Set name, role, or objective, and personality or guardrails
- Save
Step 4: Create a Knowledge Context
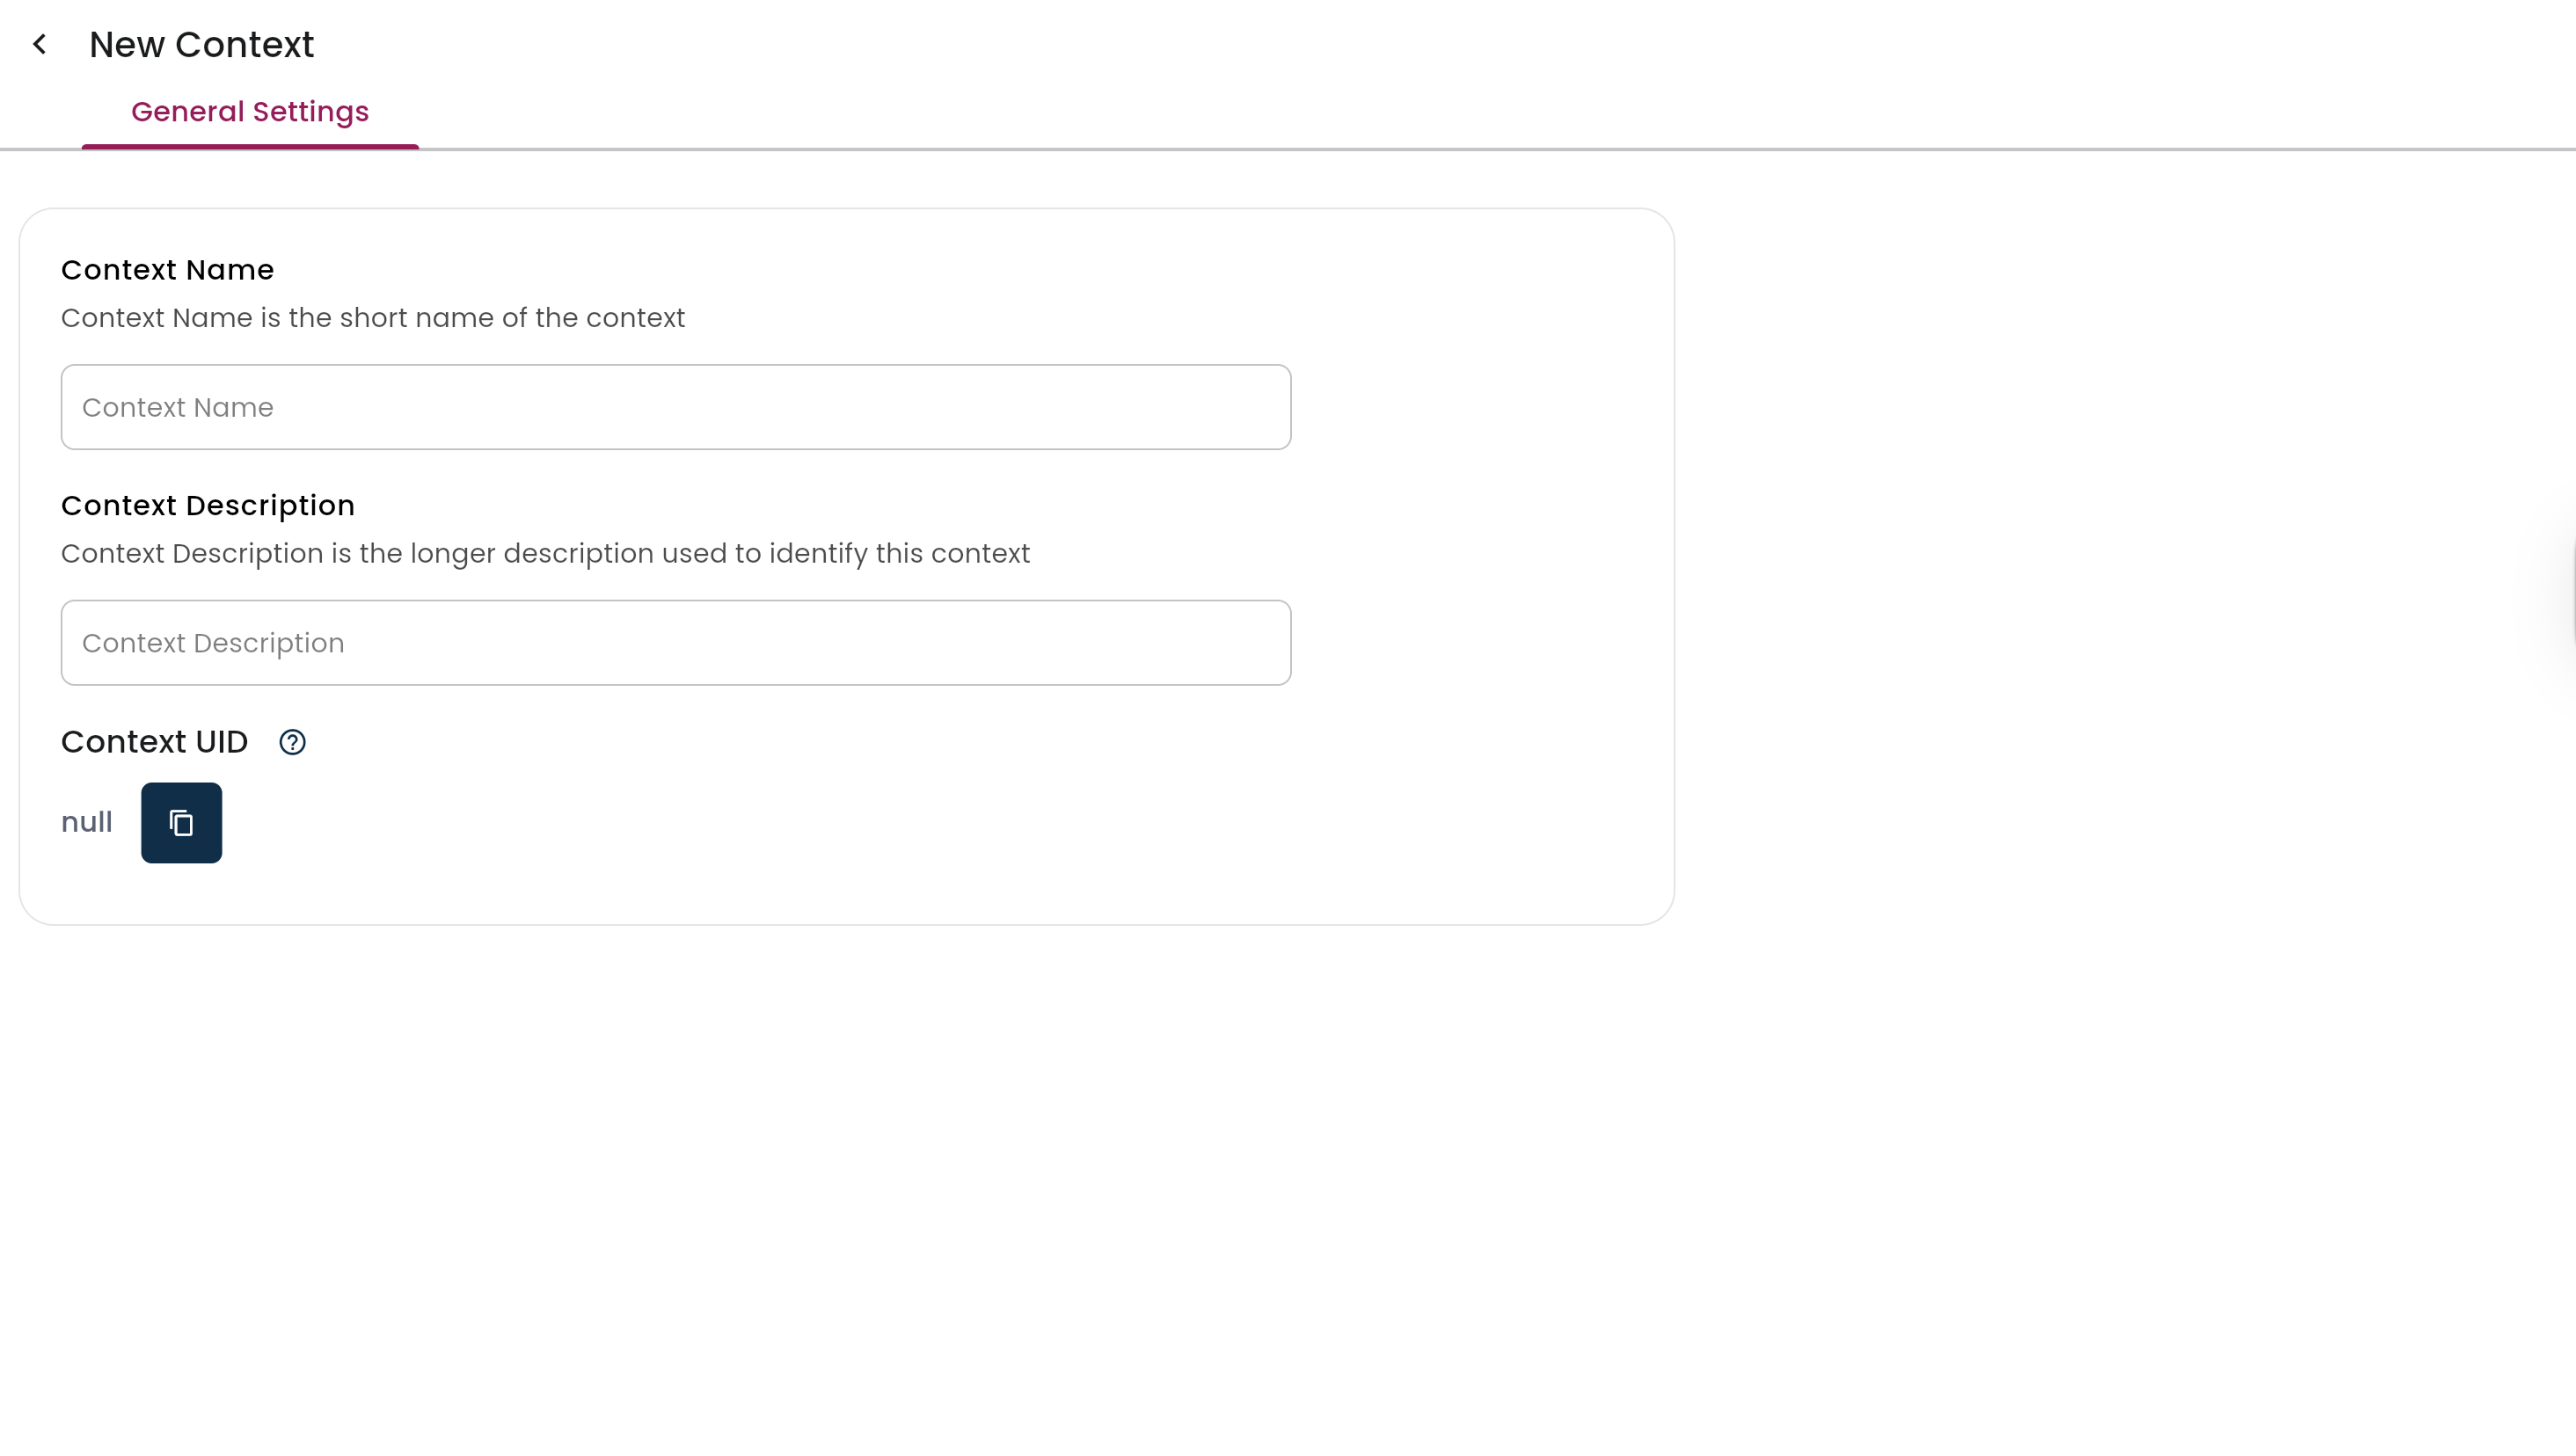
-
Go to Knowledge Contexts → New Context
-
Name and describe your new context
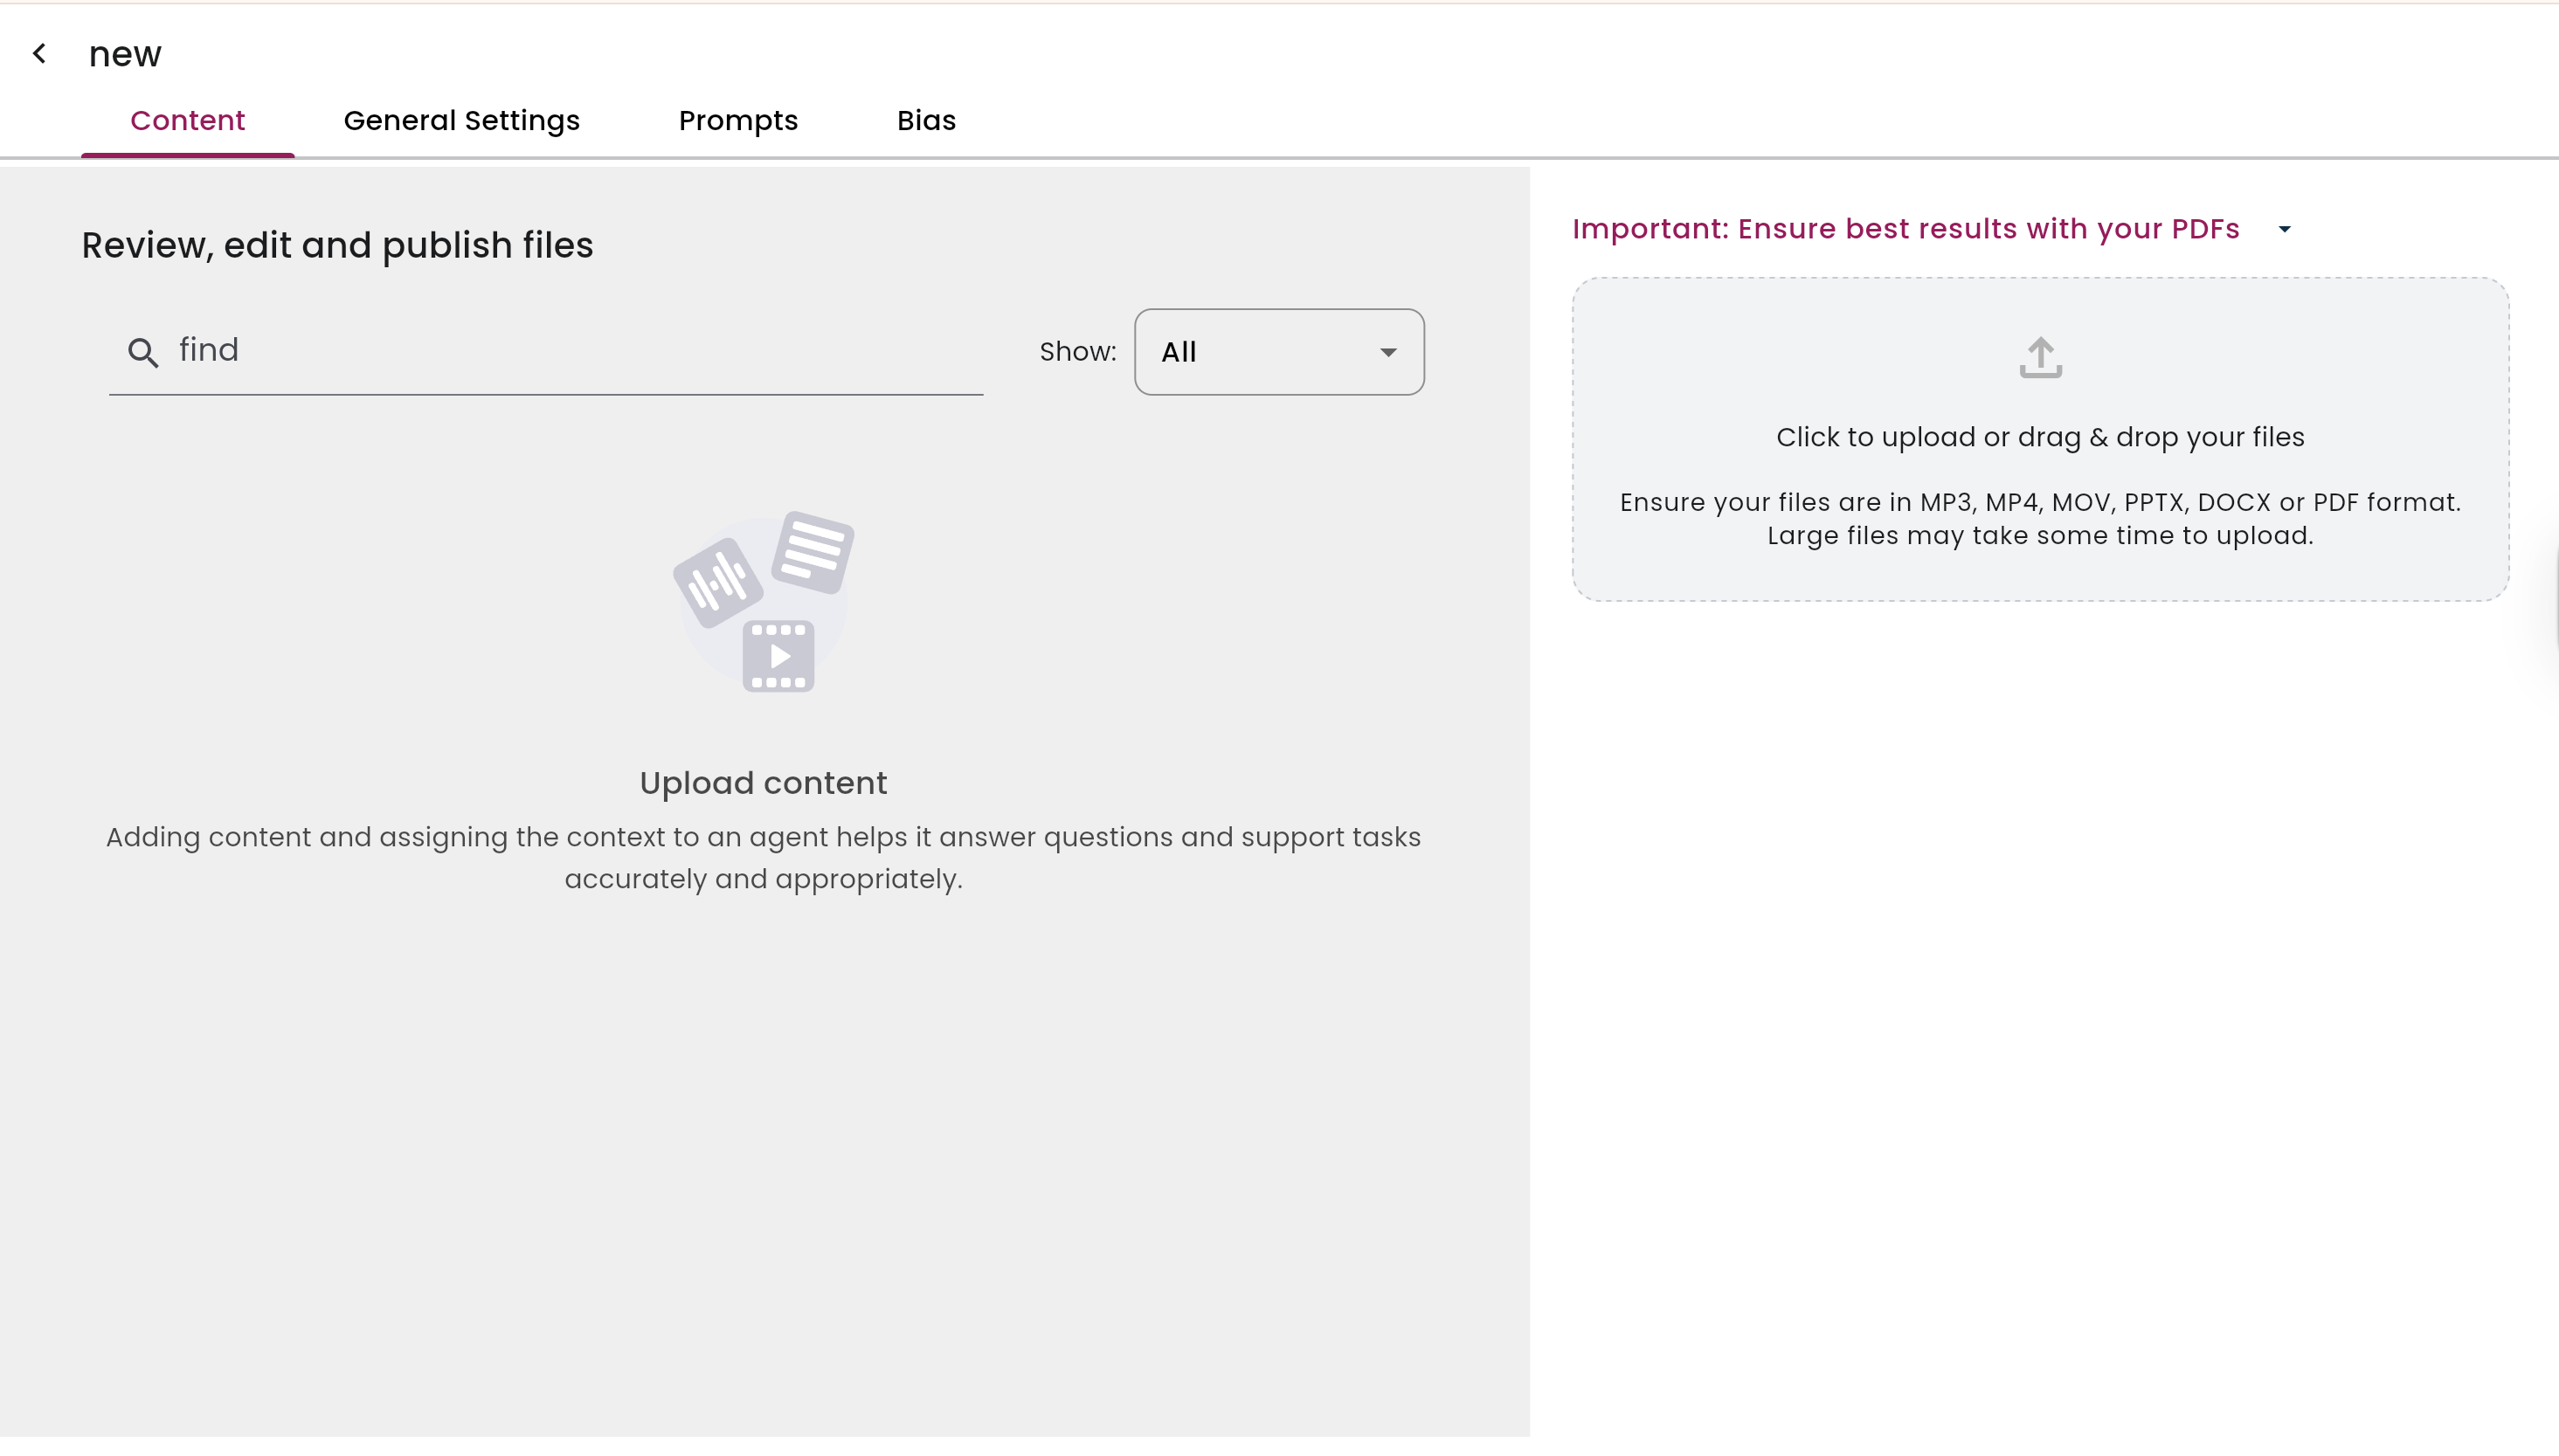
-
Upload content into the knowledge context
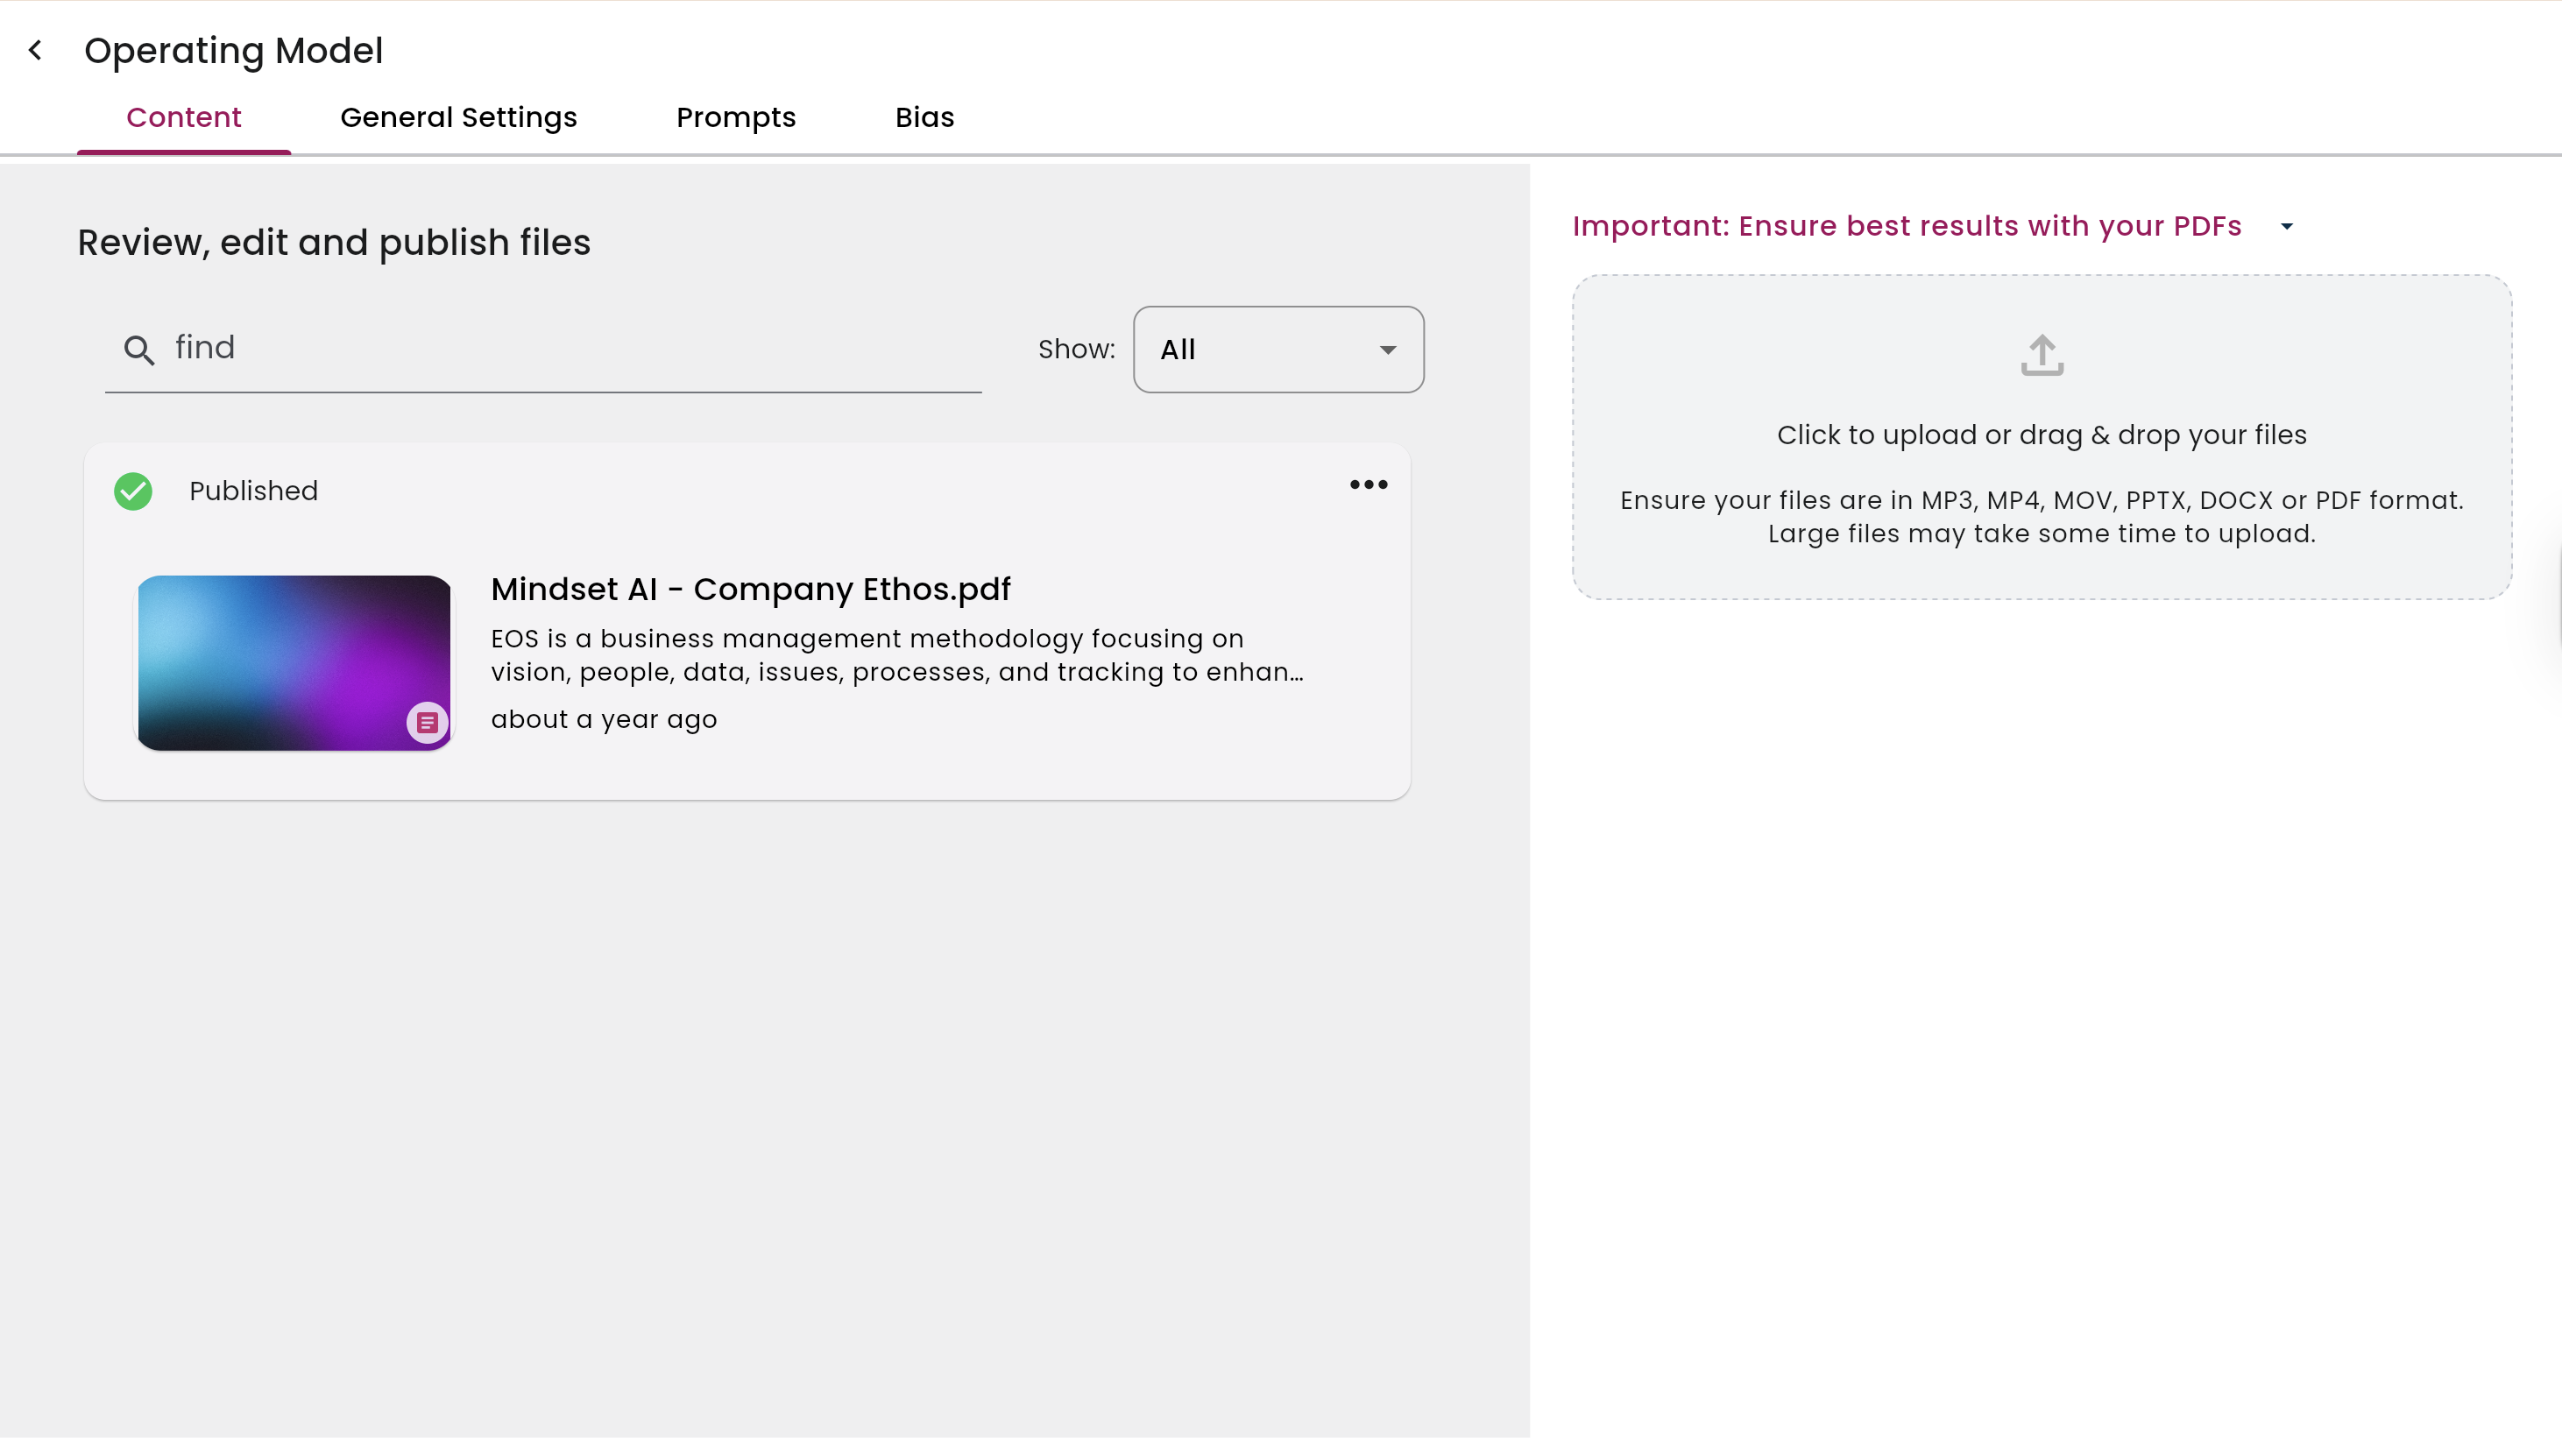
Step 5: Attach the Knowledge Context to the Agent
- Open your Agent → Contexts tab
- Add one or more Knowledge Contexts
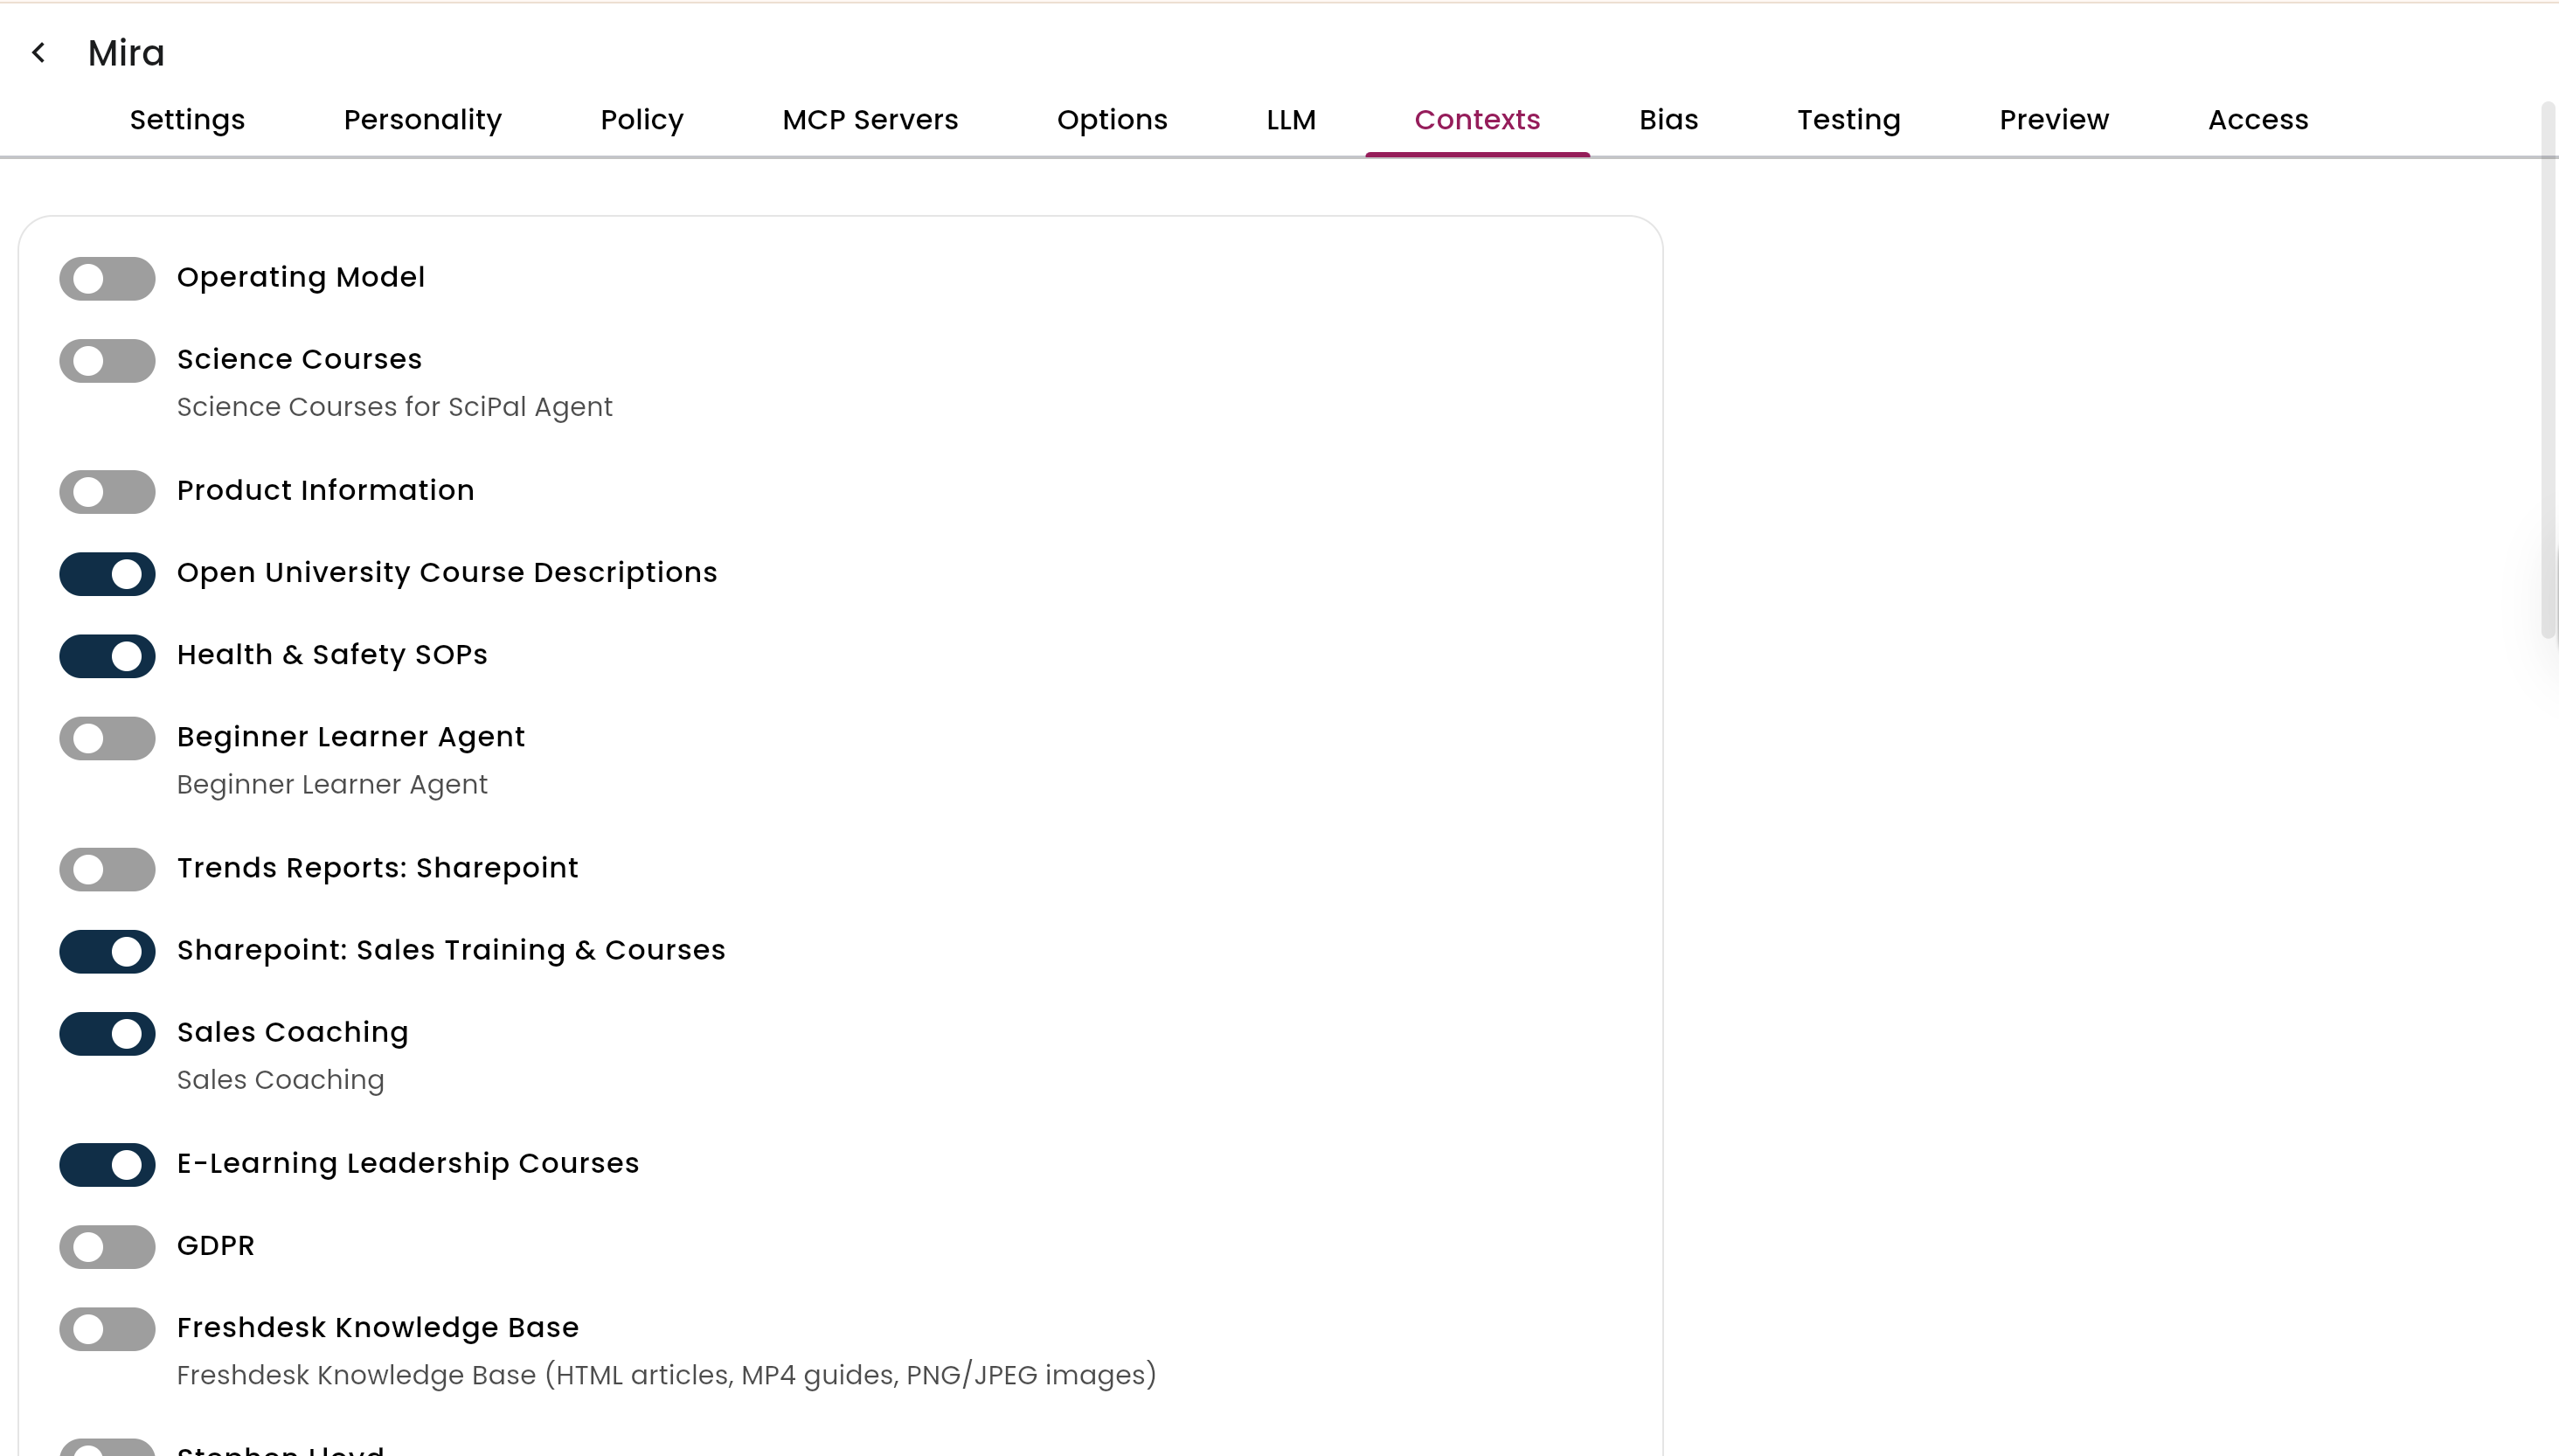
Step 6: Attach the MCP Server to the Agent
- Go to Agent → MCP Servers tab
- Add one or more MCP servers to the agent
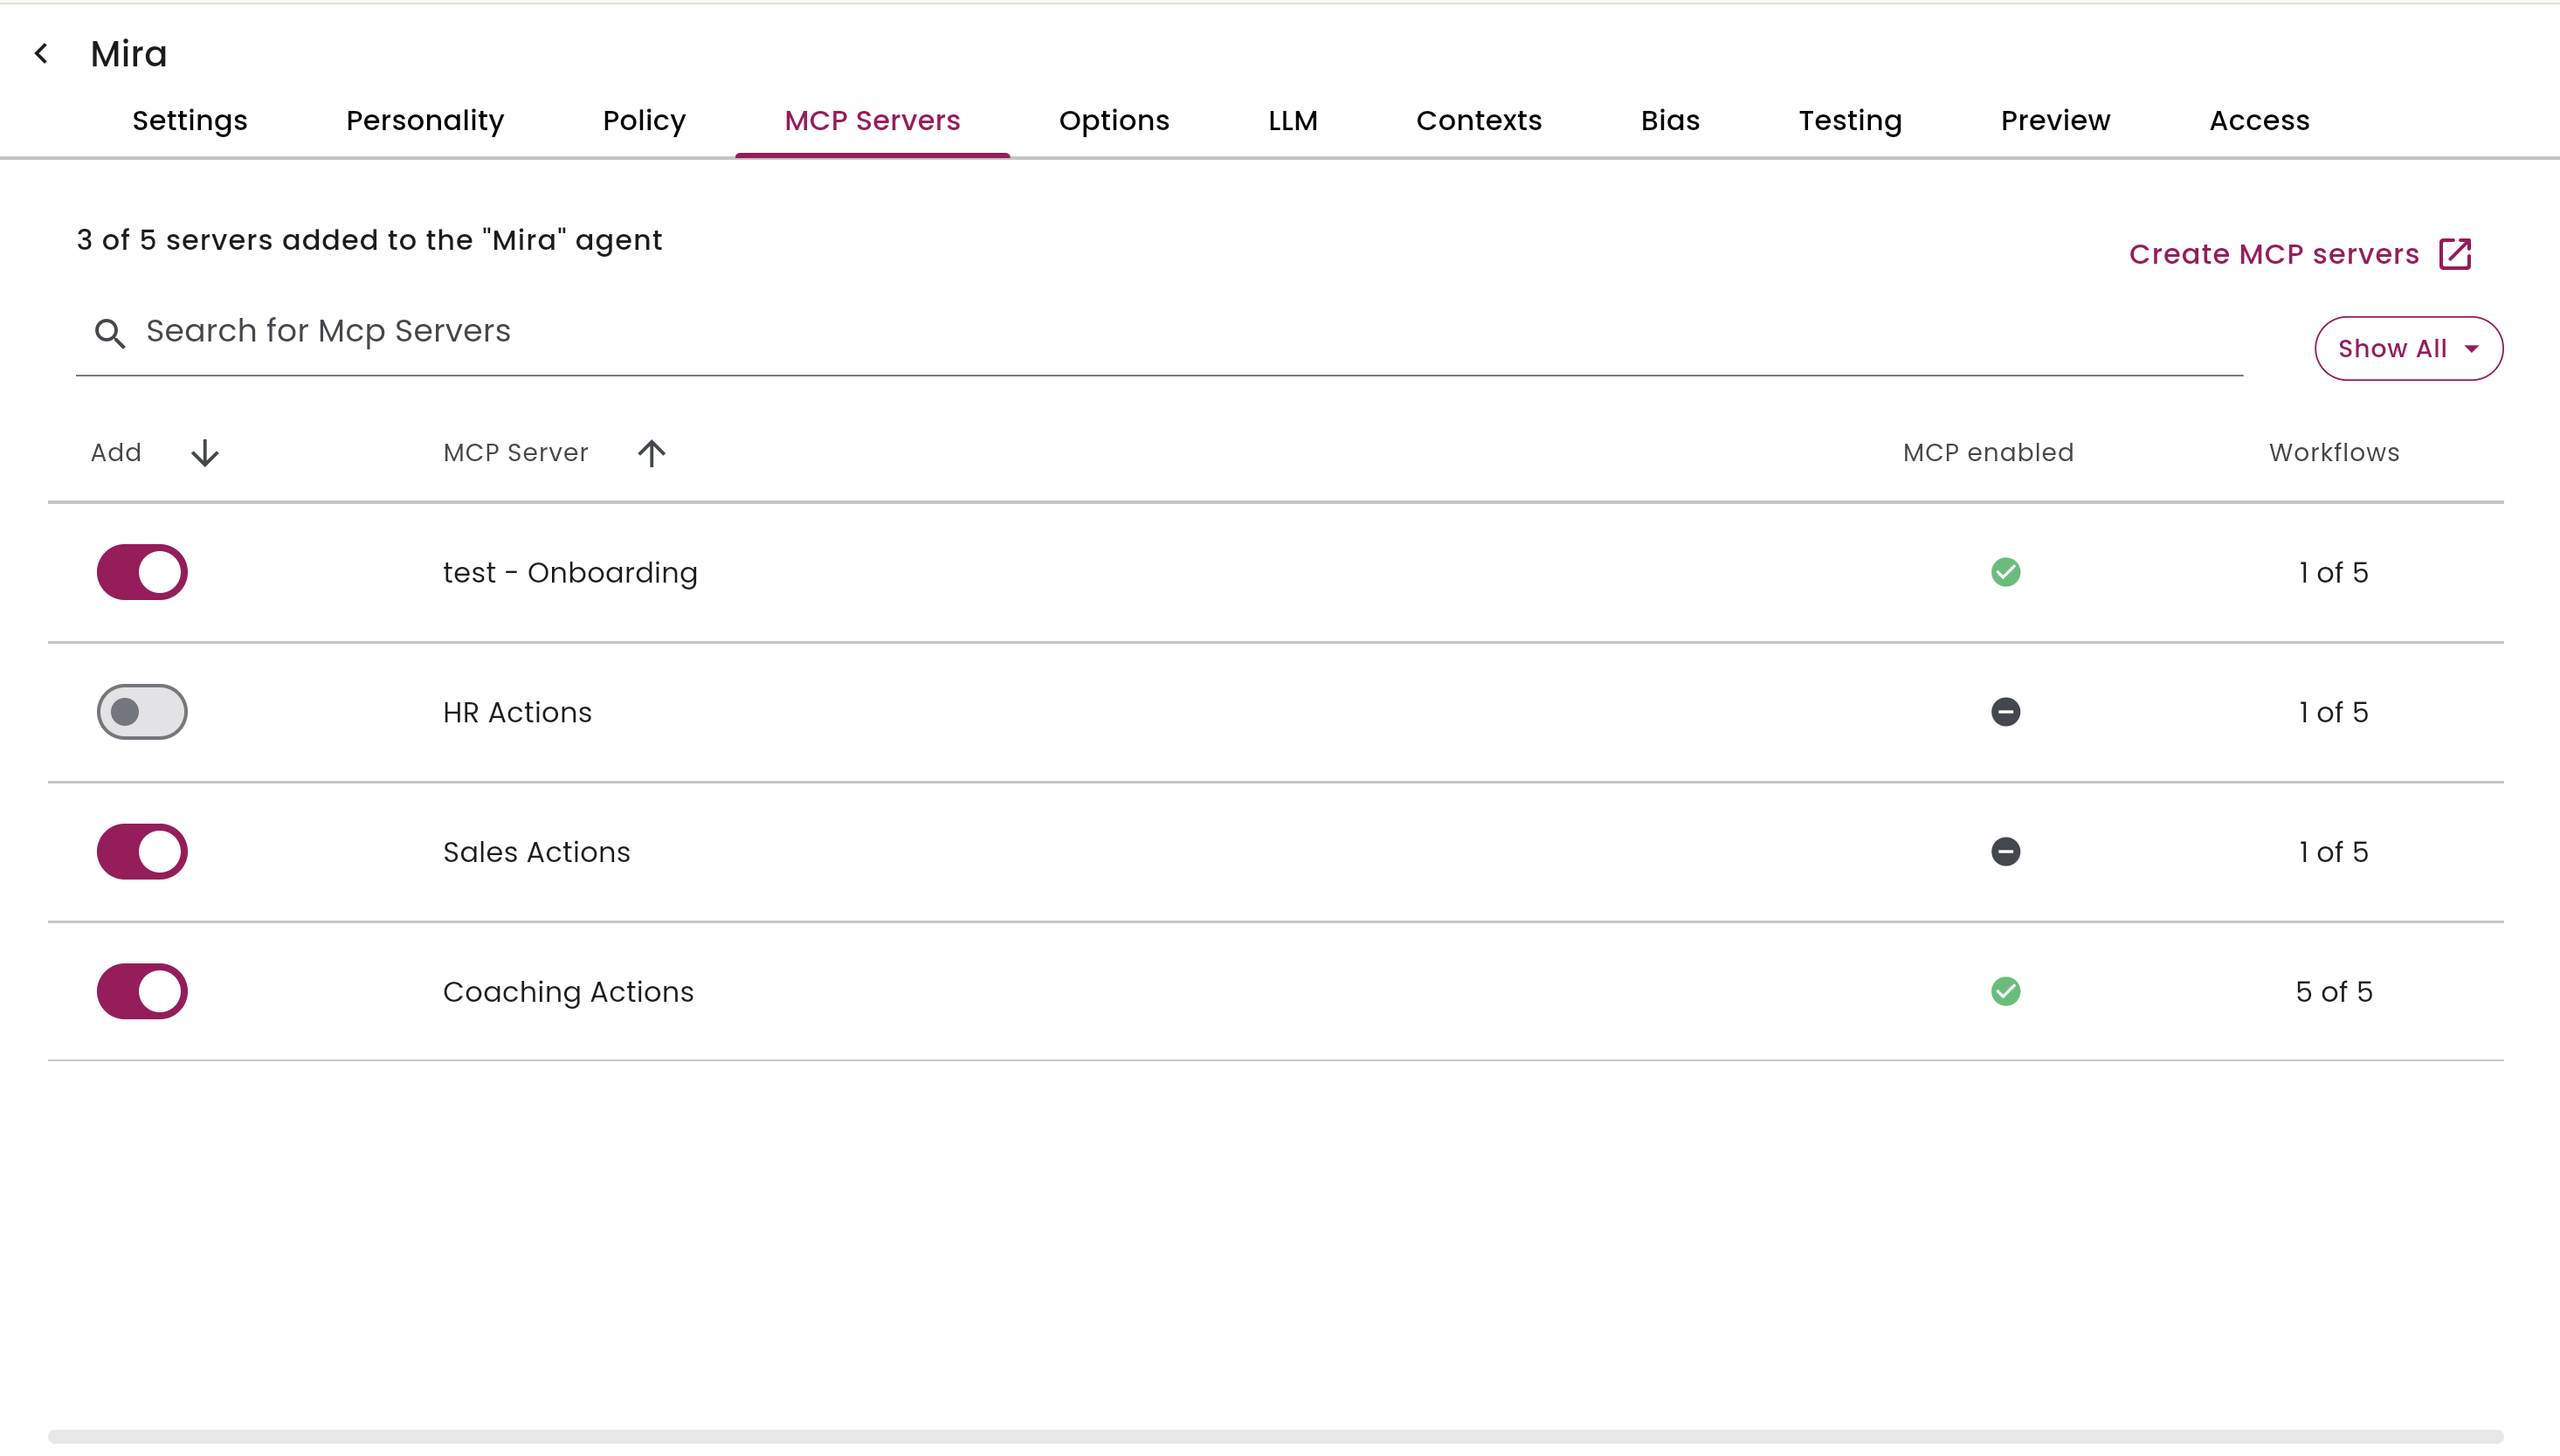
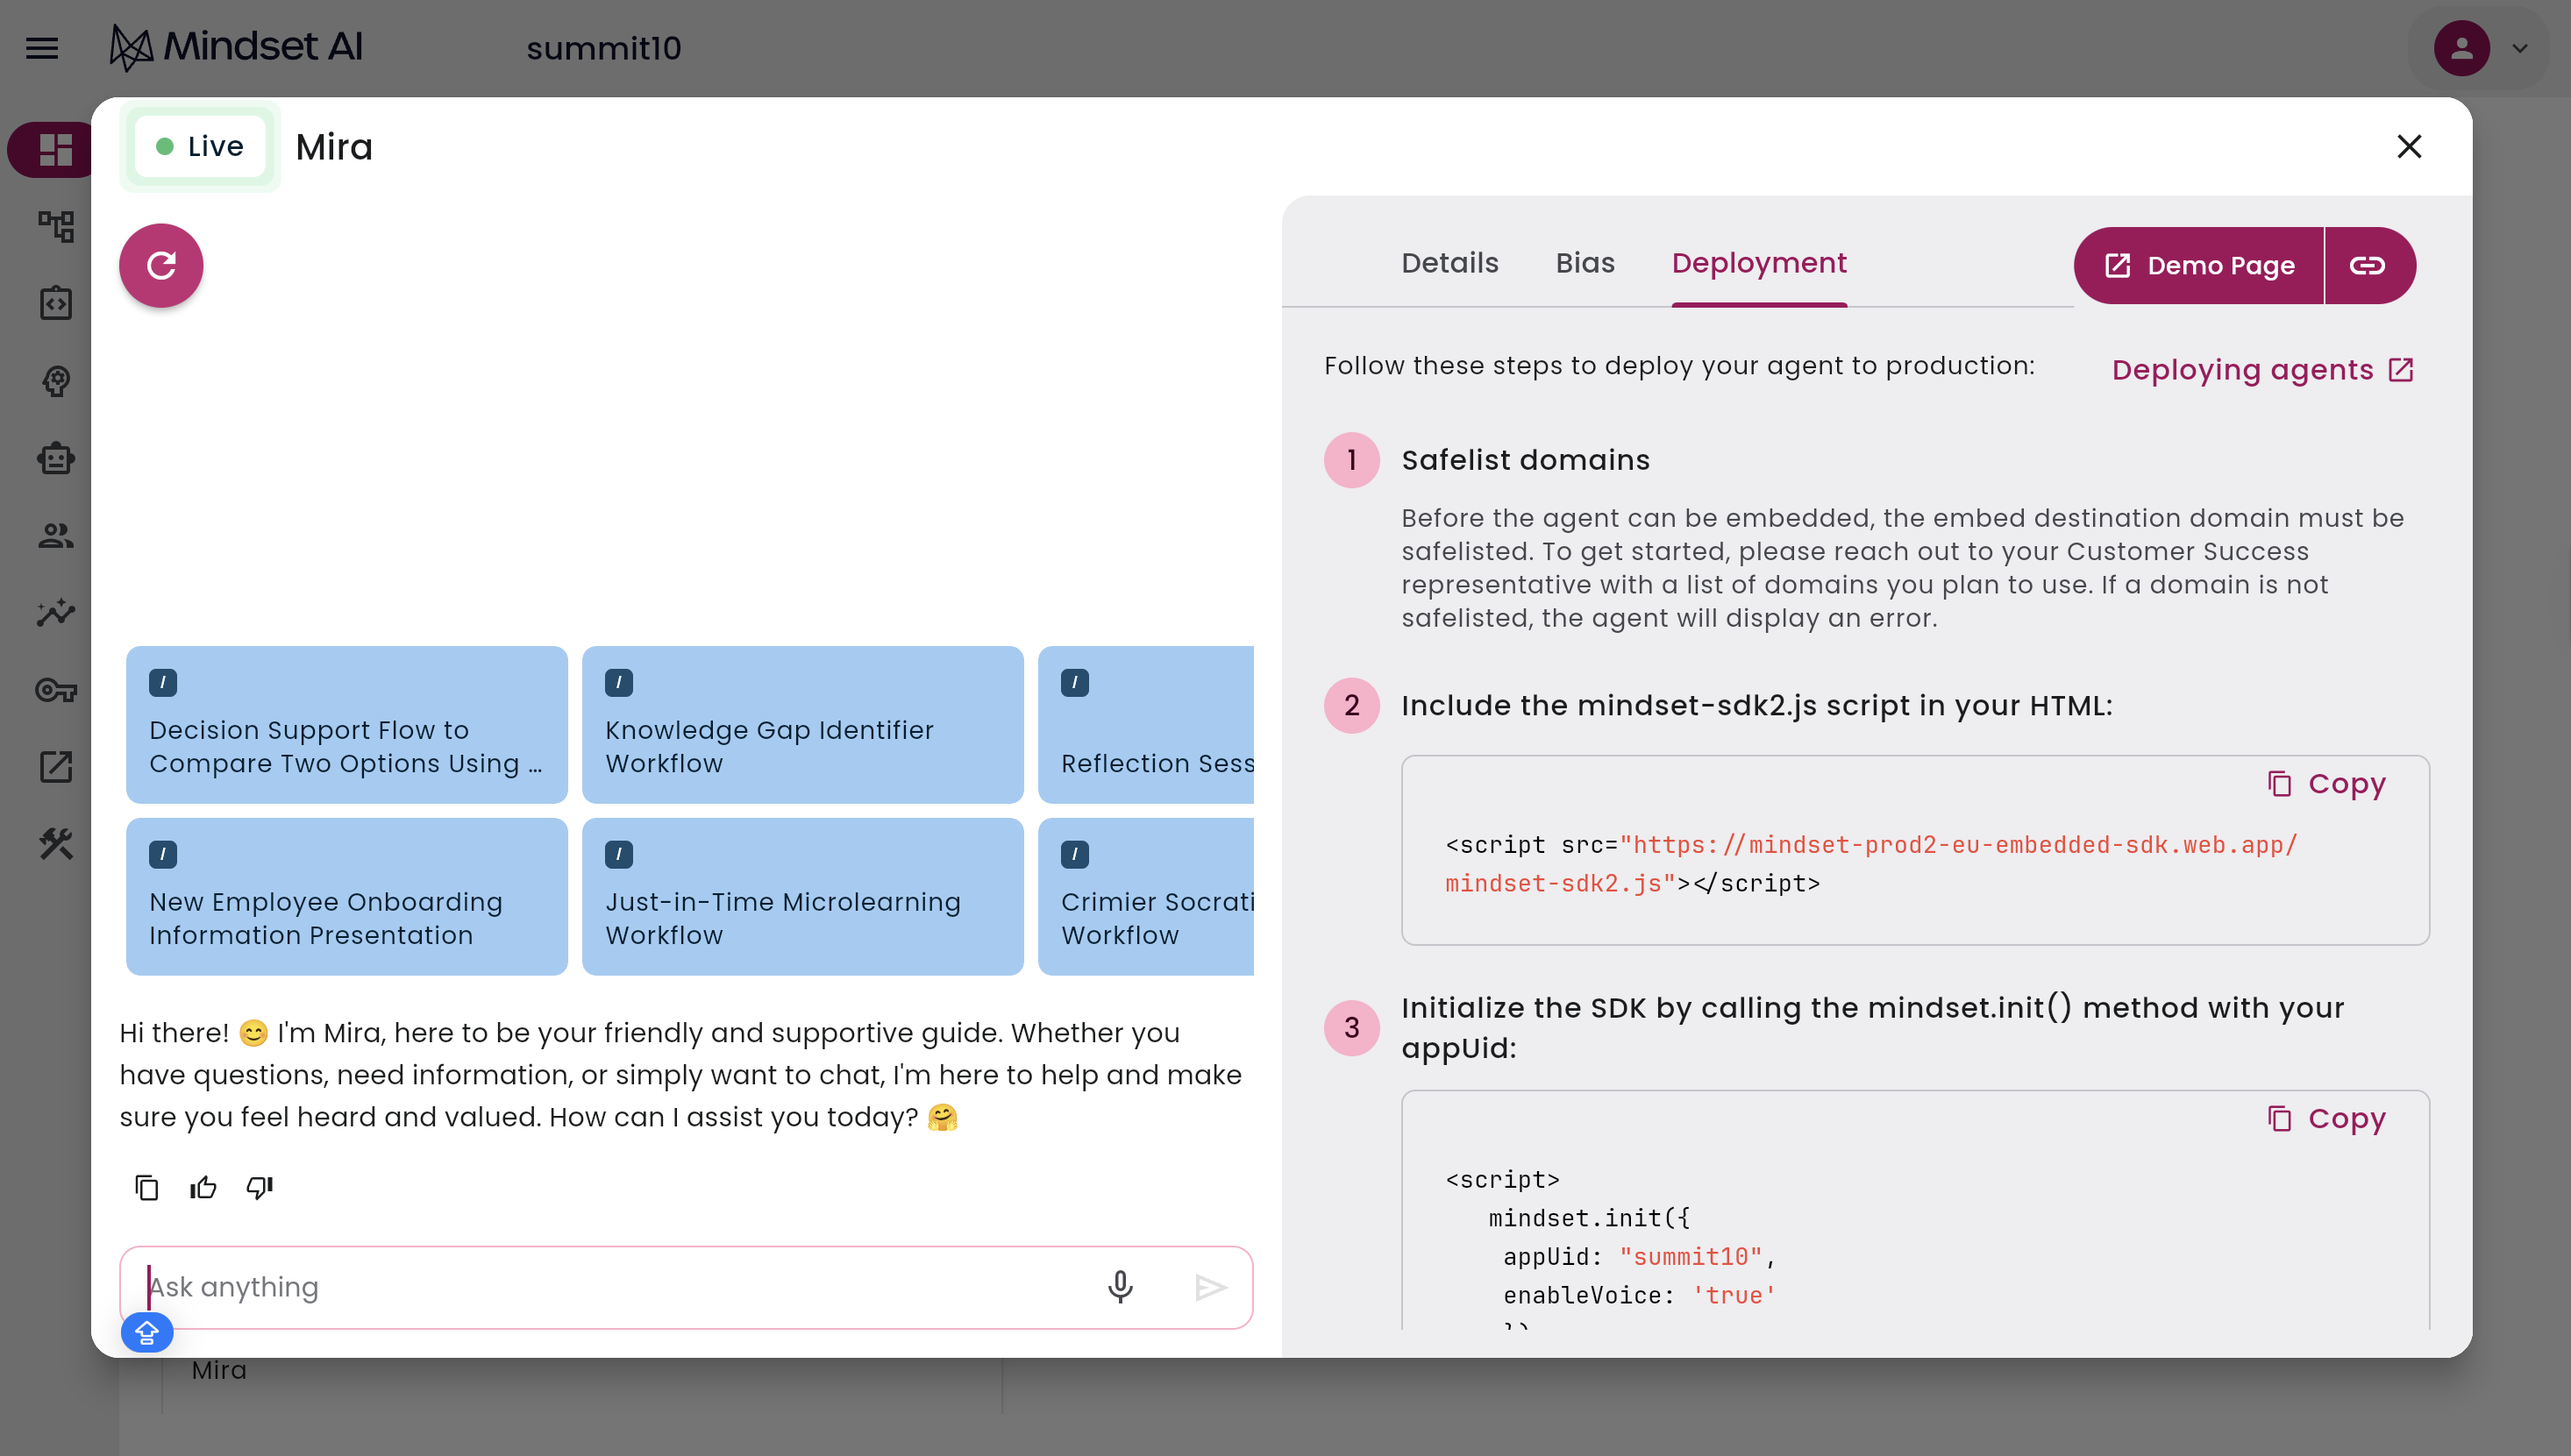
Step 7: Deploy the Agent
- Go back to the dashboard to see your live agents
- Select the agent you want to deploy
- Test it out if needed
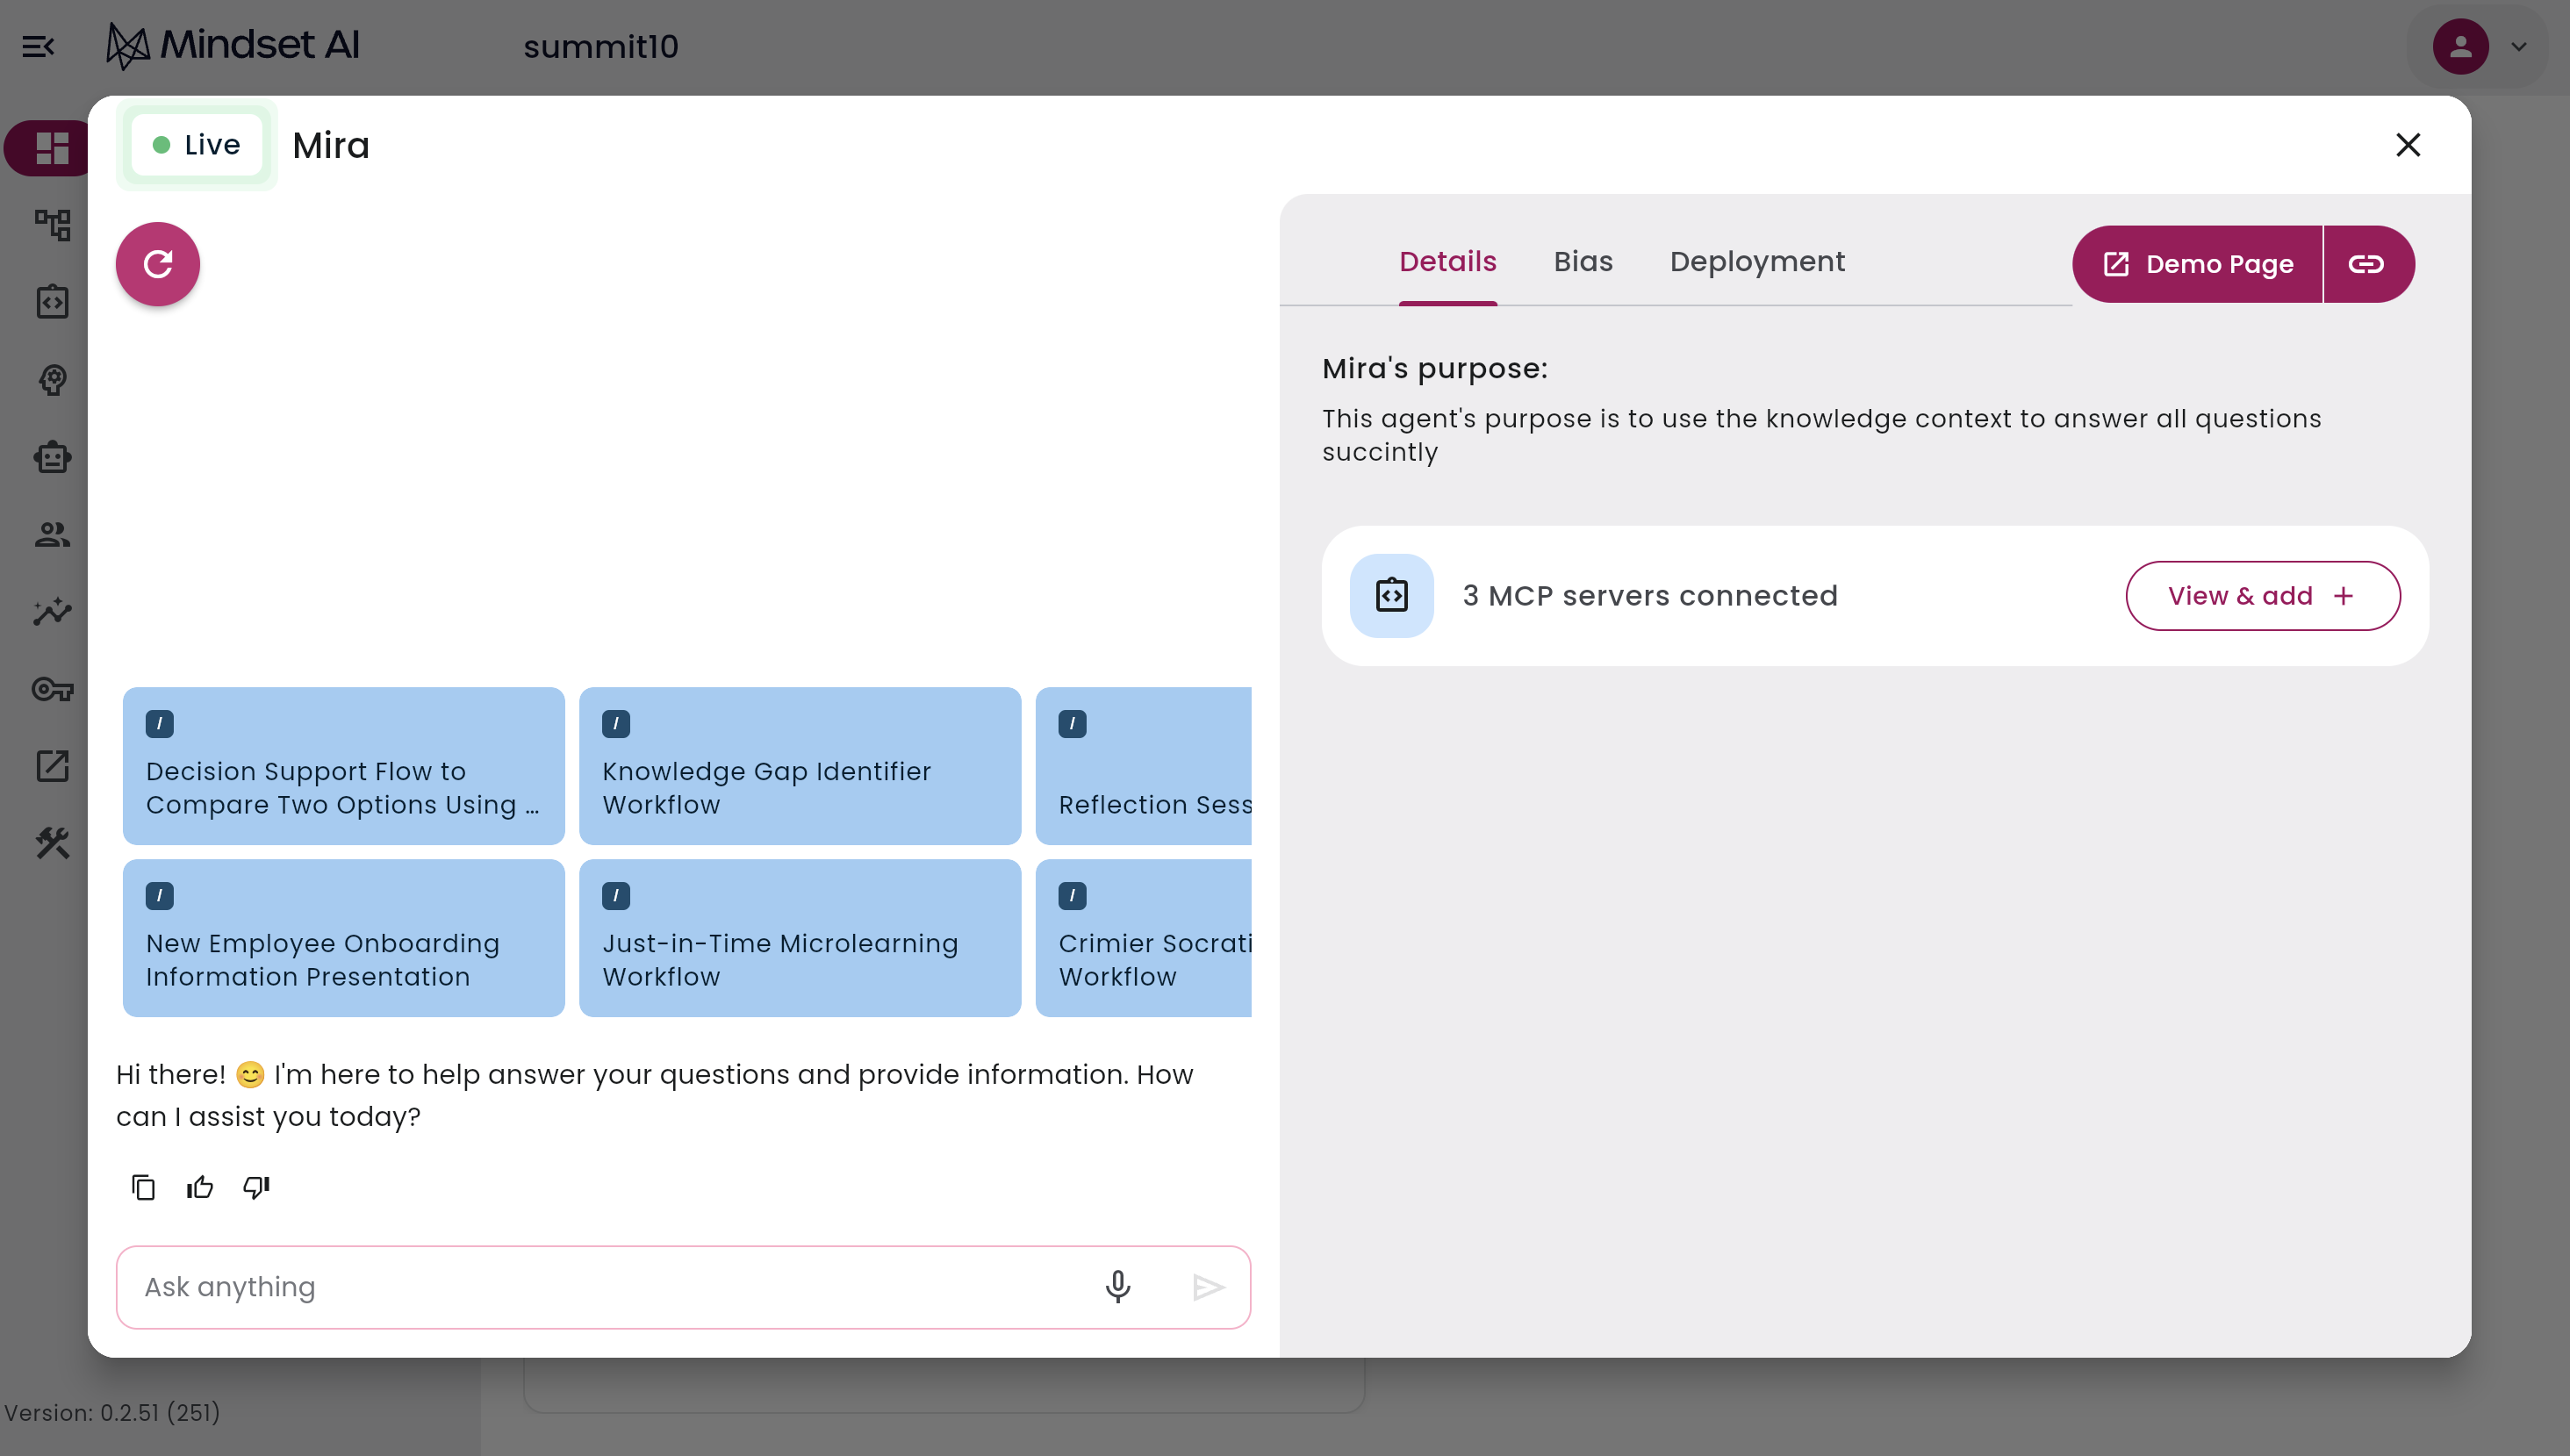
Then, go to the Deployment tab to complete deployment.
Notes
To view agents on the demo page:
- Anonymous access must be enabled
- The agent must be set to Live